Beginners · amigurumi-keychain
How to Turn Small Amigurumi into Sturdy Keychains
Never lose a crochet charm again. Learn 3 indestructible methods to attach keychains and bag clips to small amigurumi bears without ripping yarn stitches.
 The PetsYarn studio
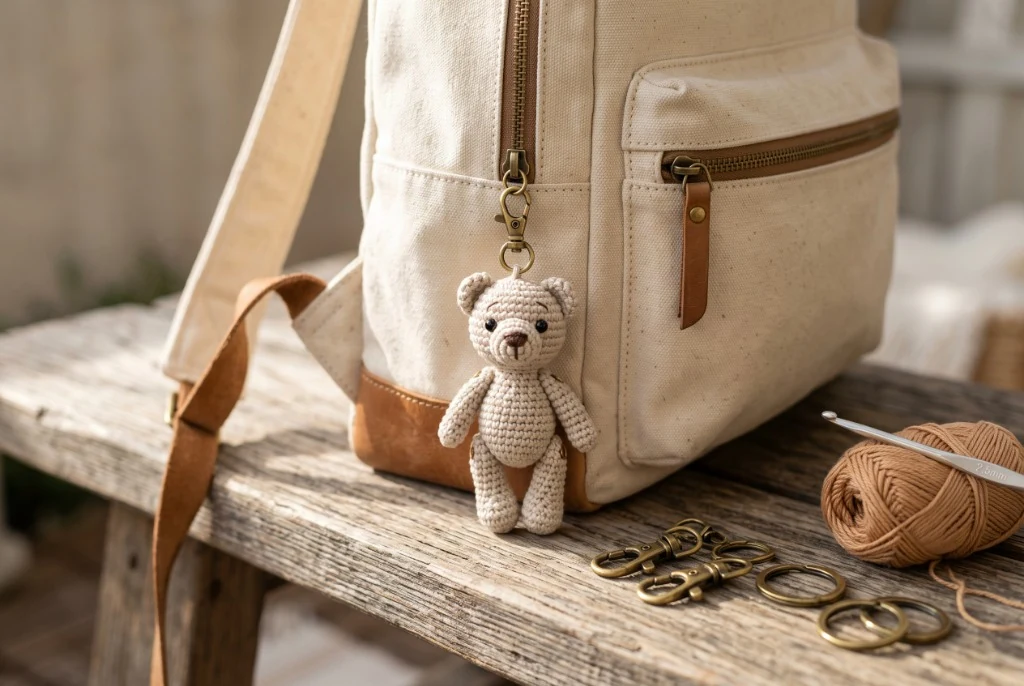
Turning a miniature crochet teddy bear or animal into a keychain is one of the most popular gift ideas and craft market bestsellers. However, almost every crocheter has experienced the heartbreaking failure: after just two weeks clipped to a backpack or swinging in a purse, the metal ring slices straight through the top crochet stitch, leaving the toy lost on the sidewalk. Traditional jewelry jump rings are designed for solid metal charms, not soft, fibrous yarn. Here is how to turn small amigurumi into sturdy keychains that withstand heavy daily tugs, keys, and commutes without tearing.
In This Keychain Attachment Guide:
- The Fatal Flaw: Why Standard Open Jump Rings Always Fail
- Method 1: The Internal Washer & Split-Ring Anchor (Indestructible)
- Method 2: The Integrated Foundation Loop (Zero Metal Wear)
- Hardware Comparison: Swivel Lobster Clasps vs Split Rings
- Knot Sealing & Polyfill Leak Prevention
- Amigurumi Bag Charm Durability Checklist
The Fatal Flaw: Why Standard Open Jump Rings Always Fail
Most commercial keychain packs include open wire “jump rings” with a tiny slit where the two ends meet. When you attach this ring through a single crochet stitch at the crown of your bear’s head:
- Knife-Edge Abrasion: Every step you take creates micro-friction. The thin metal wire acts like a tiny cheese wire, repeatedly sawing back and forth against the soft acrylic or cotton plies.
- Ring Separation: The moment your backpack brushes against a car door or subway turnstile, the slit in the jump ring levers open, and the yarn slides straight out.
- Point Tension Failure: Anchoring hardware to just one stitch concentrates the weight of your keys onto two yarn threads, stretching the loop into an unsightly teardrop hole.
Method 1: The Internal Washer & Split-Ring Anchor (Indestructible)
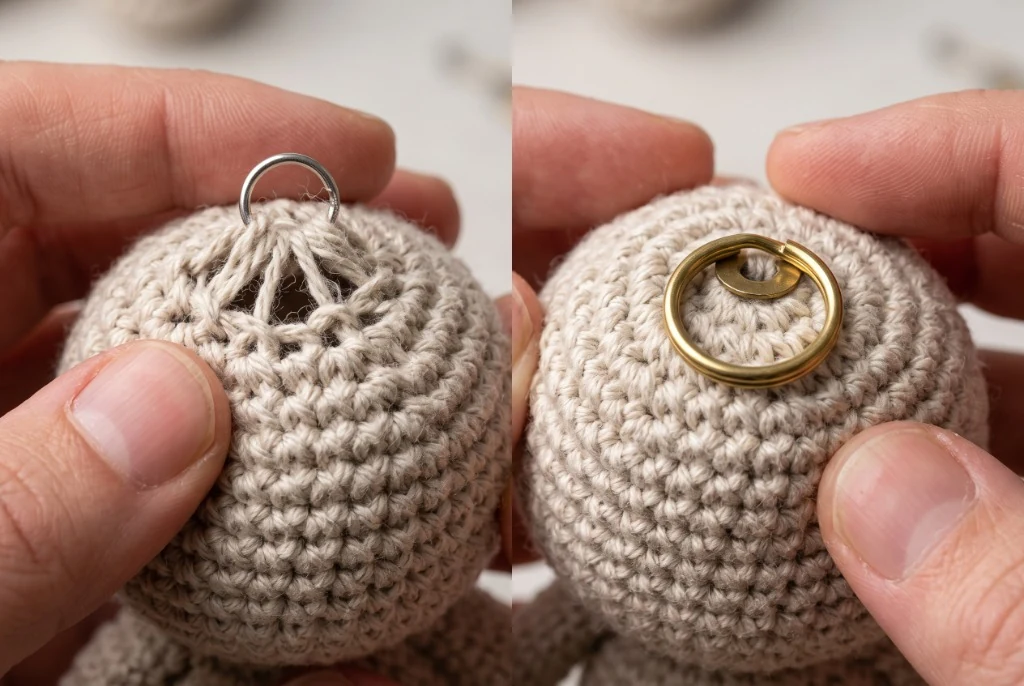
If you want a keychain connection that can support 20 pounds of pull force without distorting the bear’s head, you must anchor the hardware from the inside before closing Round 18 of the head pattern.
Step-by-Step Internal Anchor Installation
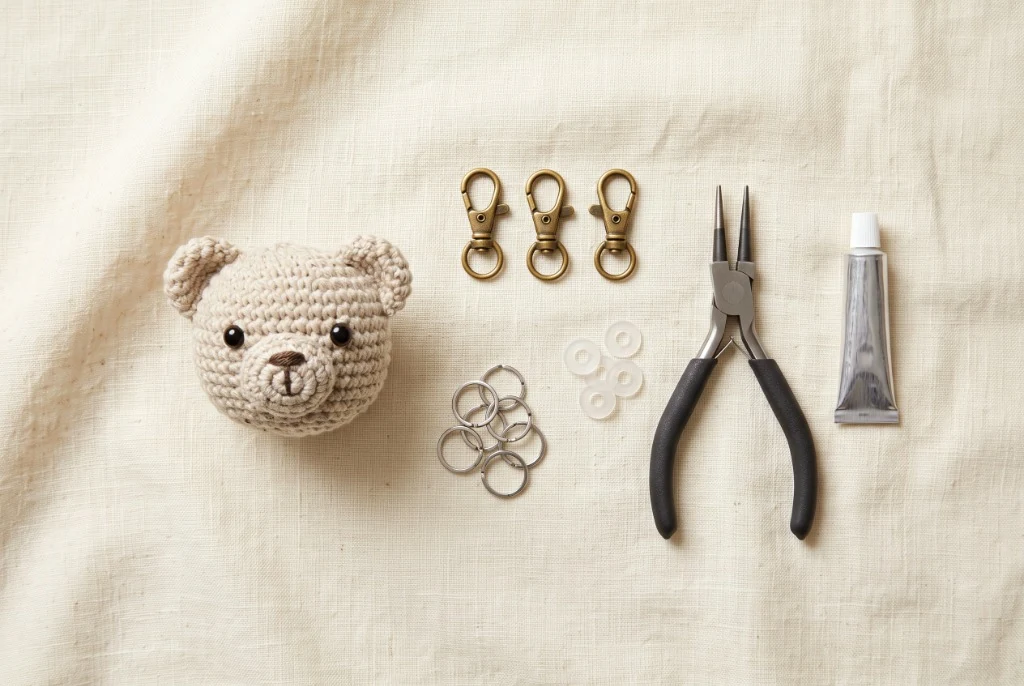
- Prepare an Internal Disc: Take a small 10–12 mm flat plastic craft washer (or a smooth flat 2-hole button).
- Thread High-Tensile Cord: Cut a 10-inch length of 50-lb braided fishing line or bonded nylon upholstery thread. Thread both ends up through the washer holes.
- Pass Through the Crown: Push both needle tails straight out through the center of Round 1 (the original magic ring) at the very top of the head.
- Attach the Metal Ring: Thread the tails through the bottom eyelet of your swivel lobster clasp or split ring.
- Return and Anchor: Pass the needle back into the magic ring, through adjacent stitches, and down through the washer holes inside the hollow head.
- Cinch and Tie: Pull both tails tight so the washer seats firmly against the inside crown fabric, tie three surgeon’s double-knots, dab with fabric adhesive, and proceed to stuff firmly with polyfill.
Because the pull force is distributed across the entire 12 mm washer disc, it is mechanically impossible for the hardware to pull through the crochet fabric.
Method 2: The Integrated Foundation Loop (Zero Metal Wear)
If you prefer an organic, yarn-only look without visible metal rings touching the crown, create an integrated chain loop directly during the foundation rounds:
- When working the initial Magic Ring for the head, leave an extra-long starting tail (approx. 12 inches).
- After completing Round 1, pull the starting tail to the outside of the ring.
- Use a smaller 2.0 mm hook to chain 8–10 tight stitches with the doubled tail.
- Slip stitch back into the opposite side of the magic ring to form a sturdy, compact yarn arch.
- Weave the remaining tail securely through the inner back loops and seal with a knot inside before adding polyfill.
- Clip your lobster clasp directly onto this reinforced yarn arch. Metal never rubs against your main toy body.
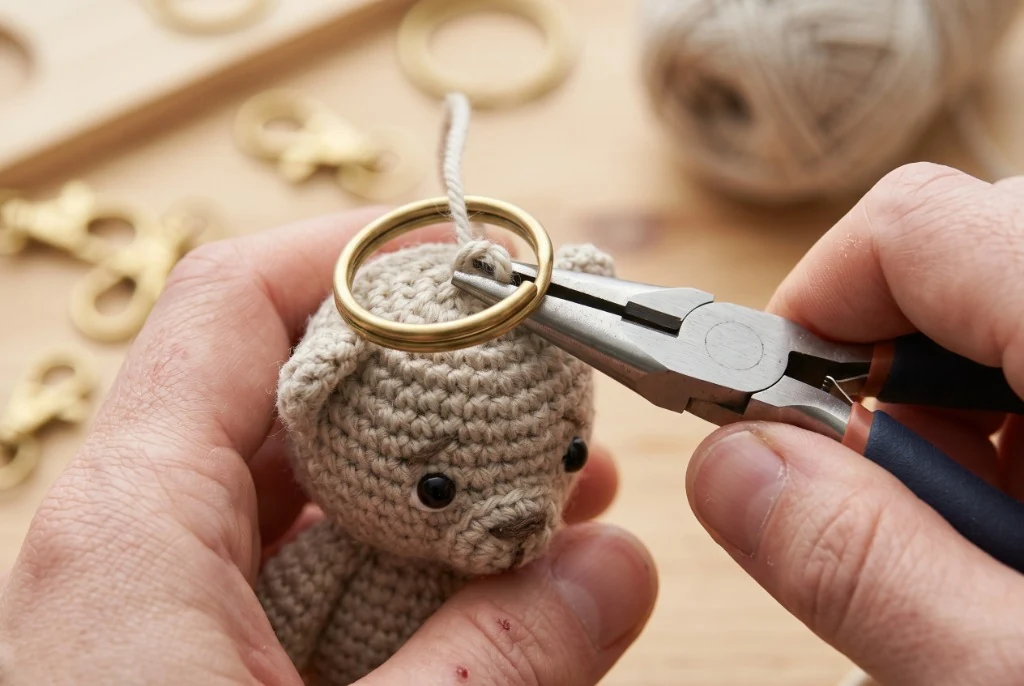
Hardware Comparison: Swivel Lobster Clasps vs Split Rings
Knot Sealing & Polyfill Leak Prevention
Whenever you punch hardware through an amigurumi crown, you create an exit port where white polyester stuffing can gradually migrate out under repeated pulling. Two simple habits eliminate this entirely:
- The Felt Washer Barrier: Slip a 15 mm round circle cut from scrap wool felt over the inside anchor before stuffing. Felt fibers interlock with polyfill, acting as a complete dust and fluff barrier.
- Waterproof Adhesive Dot: Apply a single drop of flexible waterproof craft glue (such as E6000 or Aleene’s “OK to Wash It”) onto the final anchoring knot. This prevents slippery bonded nylon or fishing line from unraveling over years of vibration.
Amigurumi Bag Charm Durability Checklist
Before gifting or listing your crochet bear keychains on Etsy, perform the 10-Second Tug Test:
- Grasp the bear’s head firmly in one hand and the metal lobster clasp in the other.
- Apply firm, steady pull tension for 5 seconds, then give three gentle jerks.
- Inspect the crown stitches: if there is zero fabric gaping, no stuffing escaping, and no hardware slippage, your keychain is 100% road-ready!
Create Your Own Heirloom Bear Keychains
Use our Free Crochet Teddy Bear Pattern to craft 15 cm full-bodied bears or pocket-sized bag charms! Or download the 15-page collector’s PDF on Etsy with 75 photos and multi-language instructions for only $3.50.
We write tested crochet patterns for cats and dogs, and share everything we learn along the way. About us