
Crochet Pattern & Guide · For dogs
Free Crochet Dog Pattern: Puppy Chip Amigurumi Dog with Eye Patch & Collar
Free crochet pattern for Puppy Chip: an irresistible 7-inch amigurumi dog with spotty eye patch, floppy brown ears, and jaunty red collar.
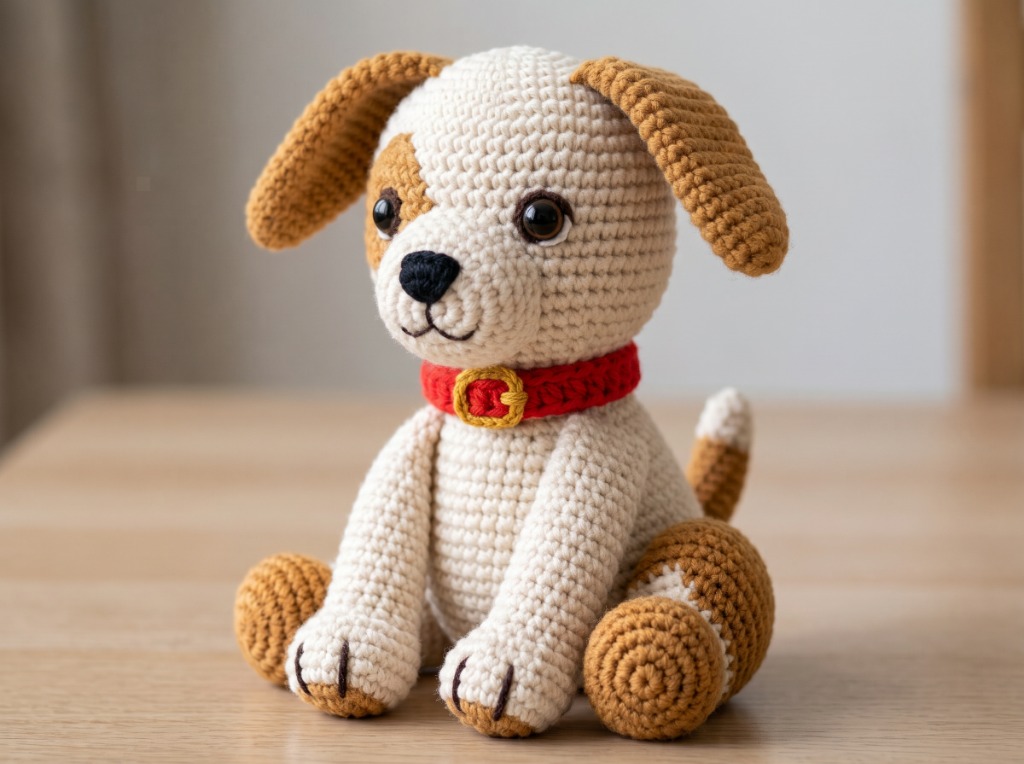
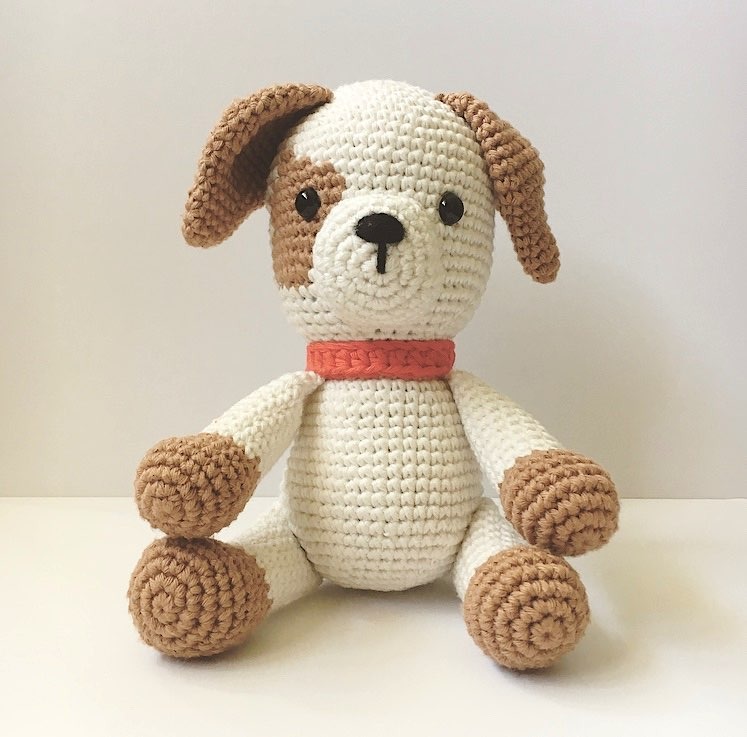
Meet Puppy Chip, your new best friend to crochet! 🐶🍪 “Just like a chocolate cookie, I am sweet and crisp. I have a spotty patch on my eye and that’s why they call me Puppy Chip!” This free crochet dog pattern guides you step-by-step through making an irresistible 7-inch sitting amigurumi puppy dog with floppy brown ears, a spotty eye patch, and a festive red crochet collar with a golden buckle. Perfect for dog lovers, handmade gifts, and adventurous beginners!
🐾 Pet-Friendly Amigurumi & Dog Lover Tips
Why Craft Lovers & Pets Adore Puppy Chip: This sweet handmade puppy makes a treasured keepsake for dog enthusiasts and a charming nursery companion. If you have pets in your home:
• Pet-Safe Embroidered Eyes: If making this as a snuggle companion for puppies or small dogs, simply substitute the plastic safety eyes with embroidered black yarn French knots to keep it 100% chew-safe!
• Durable Cotton Aran Yarn: Crocheted with 100% cotton aran yarn, Puppy Chip holds his shape wonderfully, resists pilling, and is easily spot-cleaned with a damp cloth.
Approx. 7 inches (18 cm) tall sitting
Easy / Beginner Friendly
3.25 mm (US D/3)
Paintbox Yarns Cotton Aran (Worsted)
Materials & Tools Required
- Paintbox Yarns Cotton Aran (or worsted weight cotton yarn):
- Color A (Light Champagne): 100g / 170 yds (Head, Body & Muzzle)
- Color B (Soft Fudge Brown): 50g / 93 yds (Ears, Eye Patch, Paws & Tail)
- Small scrap of Red: For Puppy Collar
- Small scrap of Yellow/Gold & Black: For Collar Buckle & Embroidered Nose
- Crochet Hook: 3.25 mm (US size D/3)
- Safety Eyes: Pair of 9–10 mm black safety eyes (or black yarn for pet-safe embroidered eyes)
- Stuffing: Polyester fiberfill stuffing
- Notions: Tapestry needle, stitch markers, pins, scissors
Crocheter’s Notes
★ Continuous Rounds: Work in continuous spiral rounds without joining with slip stitch unless directed.
★ Seamless Head & Body: Worked in one continuous piece starting at the crown of the head and working down through the body.
★ Color Changing for Eye Patch: In Rounds 11–20, carry the unused yarn on the wrong side (tapestry crochet technique) to create the clean spotty eye patch.
★ Invisible Decrease: Recommended for seamless, gap-free amigurumi shaping.
Crochet Abbreviations (US Terms)
- MR: magic ring
- ch: chain
- sc: single crochet
- hdc: half double crochet
- sl st: slip stitch
- inc: increase (2 sc in same stitch)
- dec: invisible decrease (sc 2 stitches together)
- [ ]: total stitch count at the end of the round
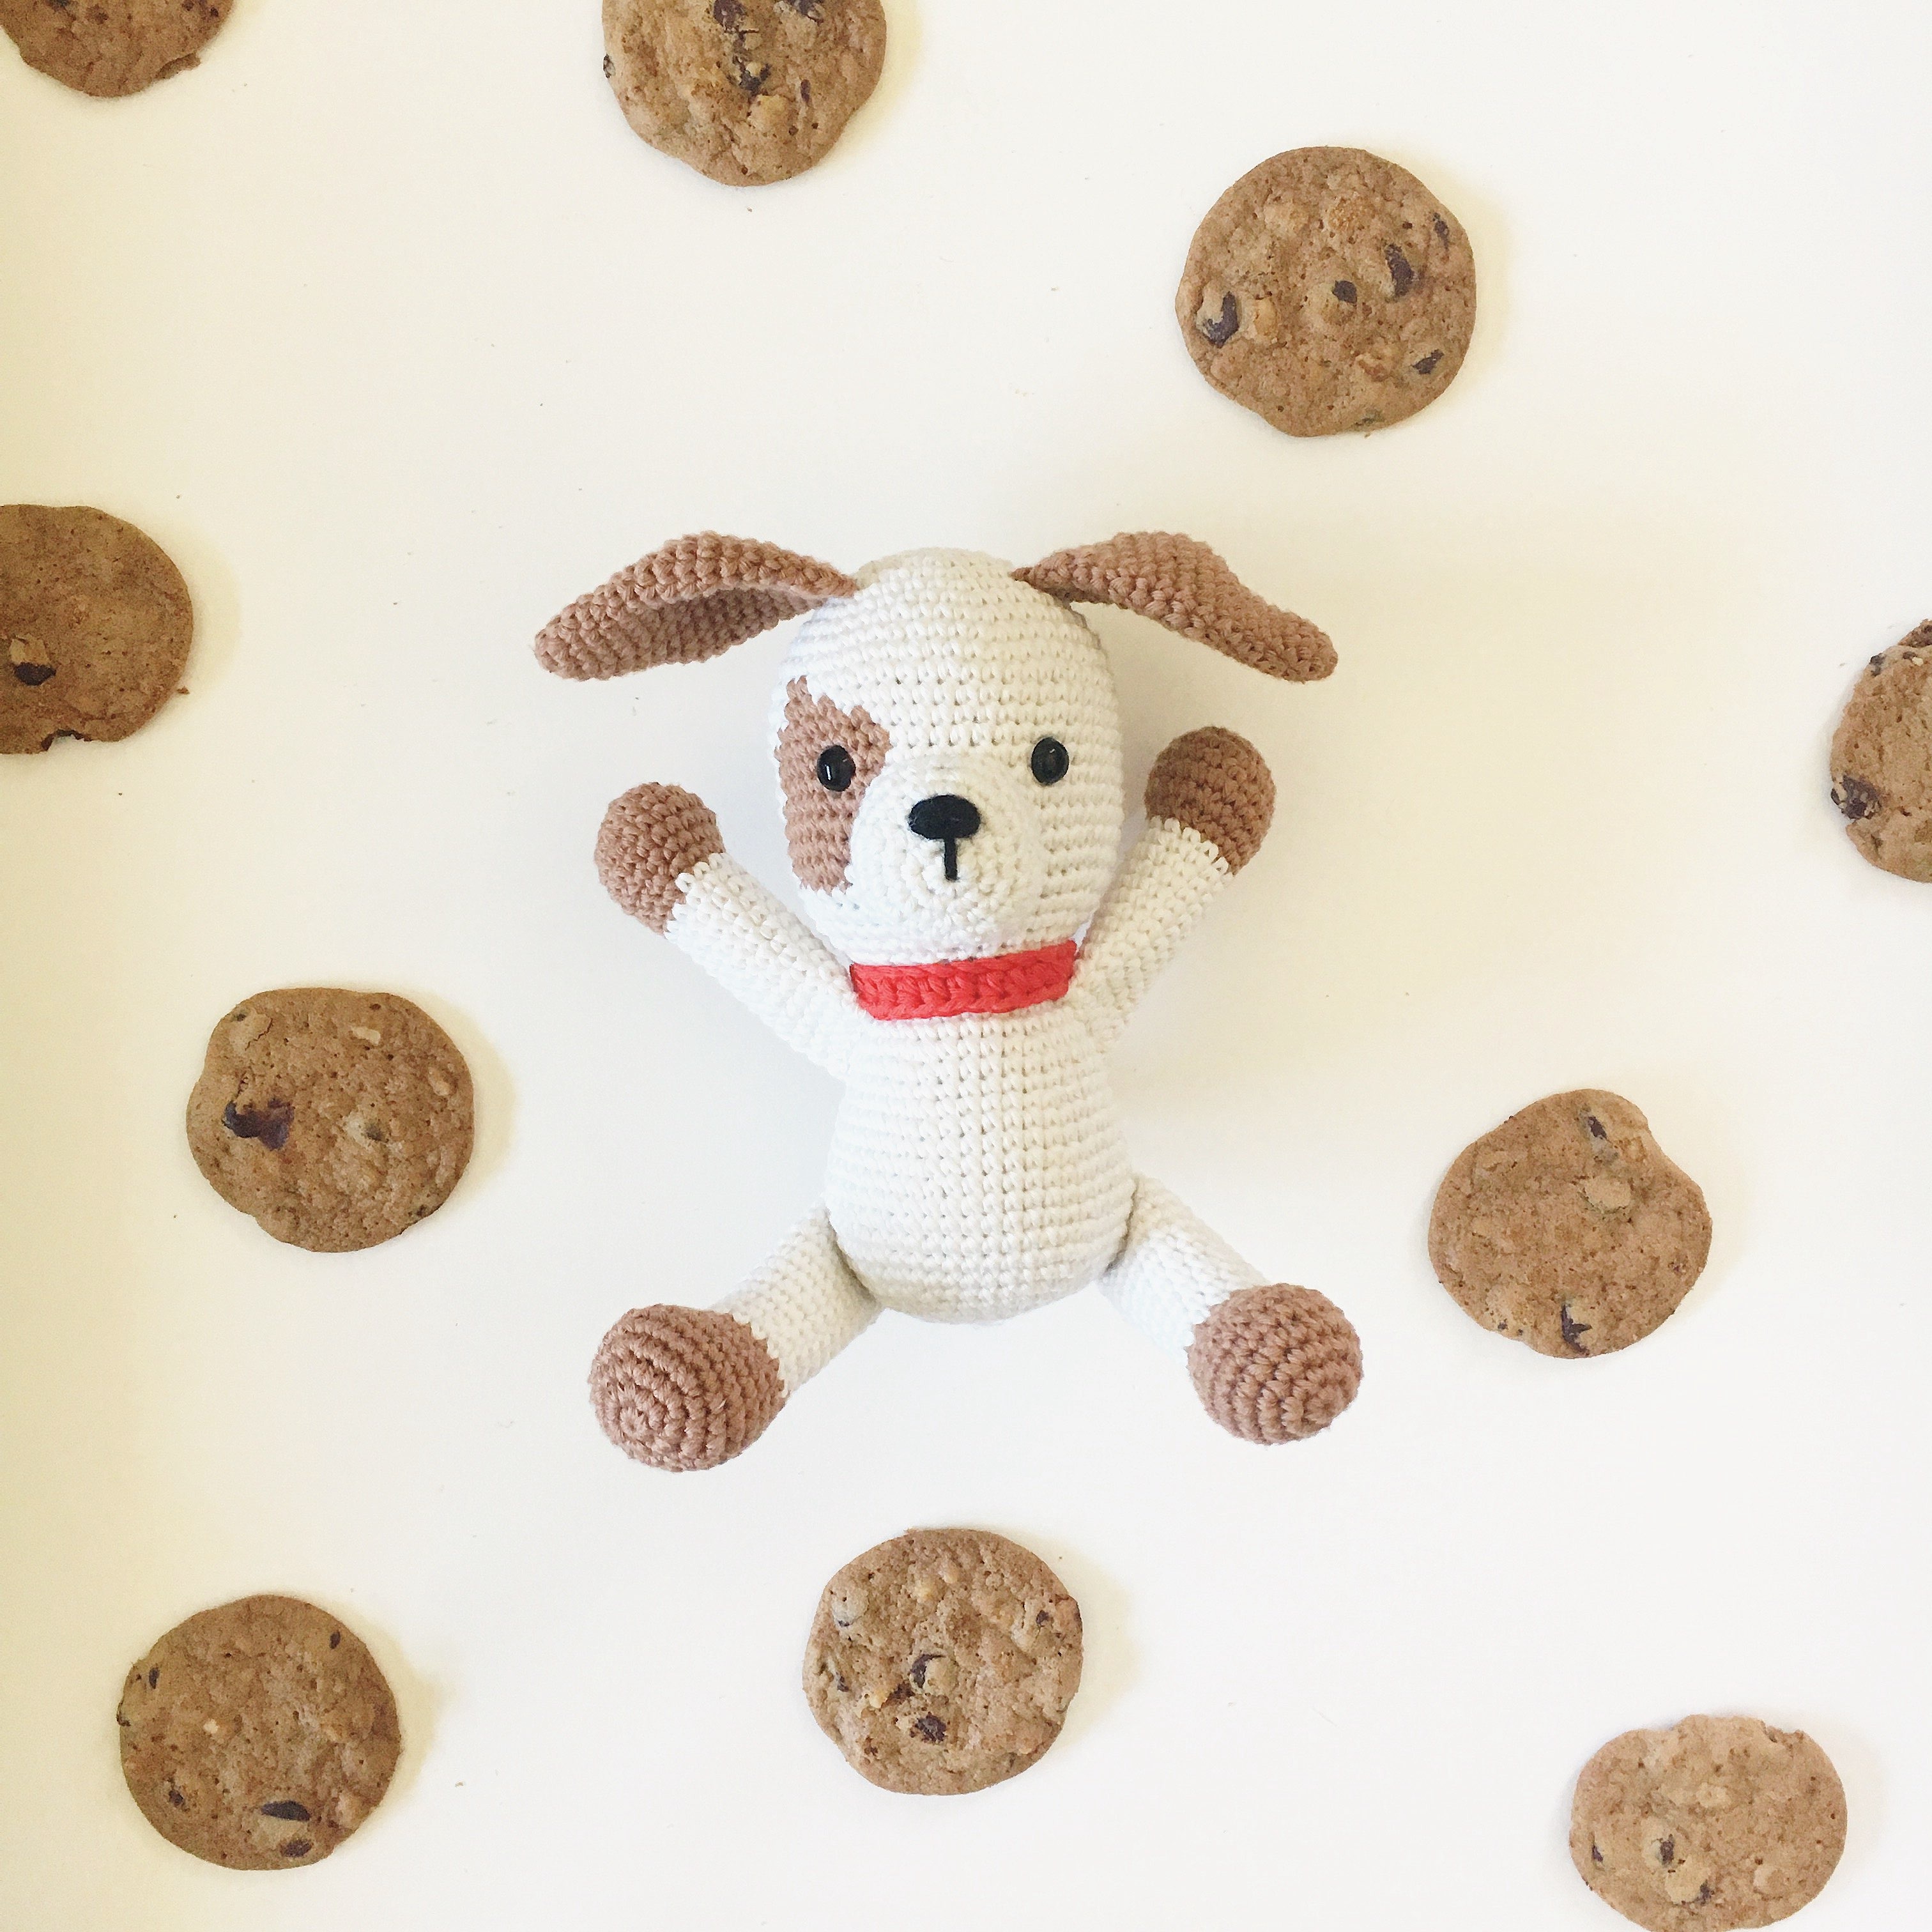
Part 1: Head & Body (With Spotty Eye Patch)
Using Color A (Light Champagne) yarn, begin with a magic ring.
- Round 1: 6 sc in MR. [6]
- Round 2: (inc in each st) around. [12]
- Round 3: (sc, inc in next st) around. [18]
- Round 4: (sc in next 2 sts, inc in next st) around. [24]
- Round 5: (sc in next 3 sts, inc in next st) around. [30]
- Round 6: (sc in next 4 sts, inc in next st) around. [36]
- Round 7: (sc in next 5 sts, inc in next st) around. [42]
- Round 8: (sc in next 6 sts, inc in next st) around. [48]
- Round 9: (sc in next 7 sts, inc in next st) around. [54]
- Round 10: (sc in each st) around. [54]
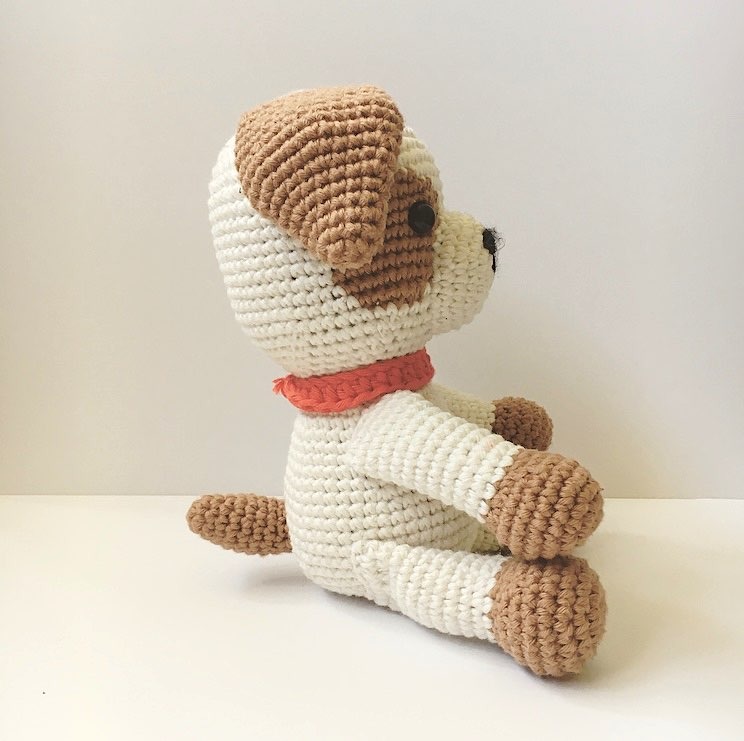
Attach Yarn B (Soft Fudge) to begin the spotty eye patch:
- Round 11: 5 sc in Color A; 2 sc in Color B; 47 sc in Color A. [54]
- Round 12: 5 sc in Color A; 4 sc in Color B; 45 sc in Color A. [54]
- Round 13: 4 sc in Color A; 7 sc in Color B; 43 sc in Color A. [54]
- Round 14: 3 sc in Color A; 9 sc in Color B; 42 sc in Color A. [54]
- Round 15: 3 sc in Color A; 9 sc in Color B; 42 sc in Color A. [54]
- Round 16: 4 sc in Color A; 8 sc in Color B; 42 sc in Color A. [54]
- Round 17: 3 sc in Color A; 10 sc in Color B; 41 sc in Color A. [54]
- Round 18: 2 sc in Color A; 9 sc in Color B; 43 sc in Color A. [54]
- Round 19: 3 sc in Color A; 8 sc in Color B; 43 sc in Color A. [54]
- Round 20: 4 sc in Color A; 6 sc in Color B; 44 sc in Color A. [54]
Fasten off Yarn B. Insert 9 mm safety eyes between Rounds 15 and 16, spaced 9 stitches apart (one eye sits centered right inside the brown spot!). Stuff and shape the head firmly as you work.
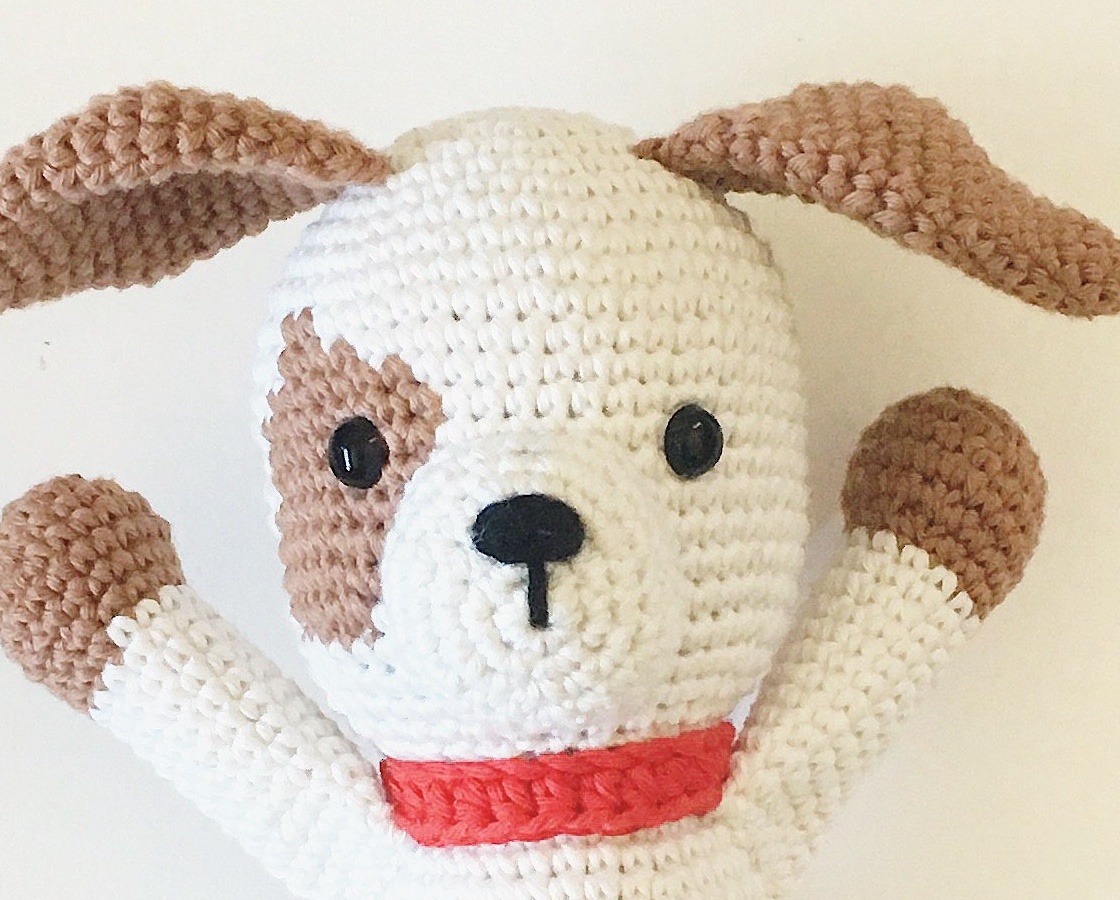
- Round 21: (sc in next 7 sts, dec) around. [48]
- Round 22: (sc in next 6 sts, dec) around. [42]
- Round 23: (sc in next 5 sts, dec) around. [36]
- Round 24: (sc in next 4 sts, dec) around. [30]
- Round 25: (sc in next 3 sts, dec) around. [24]
- Rounds 26 – 27 (2 rounds): (sc in each st) around. [24]
- Round 28: (sc in next 3 sts, inc in next st) around. [30]
- Rounds 29 – 30 (2 rounds): (sc in each st) around. [30]
- Round 31: (sc in next 4 sts, inc in next st) around. [36]
- Rounds 32 – 33 (2 rounds): (sc in each st) around. [36]
- Round 34: (sc in next 5 sts, inc in next st) around. [42]
- Rounds 35 – 36 (2 rounds): (sc in each st) around. [42]
- Round 37: (sc in next 6 sts, inc in next st) around. [48]
- Rounds 38 – 40 (3 rounds): (sc in each st) around. [48]
- Round 41: (sc in next 11 sts, inc in next st) around. [52]
- Round 42: (sc in each st) around. [52]
- Round 43: (sc in next 11 sts, dec) around. [48]
- Round 44: (sc in next 6 sts, dec) around. [42]
- Round 45: (sc in next 5 sts, dec) around. [36]
- Round 46: (sc in next 4 sts, dec) around. [30]
- Round 47: (sc in next 3 sts, dec) around. [24]
- Round 48: (sc in next 2 sts, dec) around. [18]
- Round 49: (sc in next st, dec) around. [12]
- Round 50: (dec × 6) around. [6]
Fill the body with fiberfill firmly so Puppy Chip sits upright nicely. Fasten off, weave needle through front loops of remaining 6 stitches, pull tight to close, and weave in ends.
Part 2: Floppy Brown Ears (Make 2)
Using Color B (Soft Fudge) yarn:
- Round 1: 6 sc in MR. [6]
- Round 2: (sc, inc in next st) around. [9]
- Round 3: (sc in next 2 sts, inc in next st) around. [12]
- Round 4: (sc in each st) around. [12]
- Round 5: (sc in next 3 sts, inc in next st) around. [15]
- Round 6: (sc in next 4 sts, inc in next st) around. [18]
- Round 7: (sc in each st) around. [18]
- Round 8: (sc in next 2 sts, inc in next st) around. [24]
- Round 9: (sc in next 3 sts, inc in next st) around. [30]
- Rounds 10 – 11 (2 rounds): (sc in each st) around. [30]
- Round 12: (sc in next 3 sts, dec) around. [24]
- Rounds 13 – 14 (2 rounds): (sc in each st) around. [24]
- Round 15: (sc in next 4 sts, dec) around. [20]
- Round 16: (sc in each st) around. [20]
- Round 17: (sc in next 8 sts, dec) around. [18]
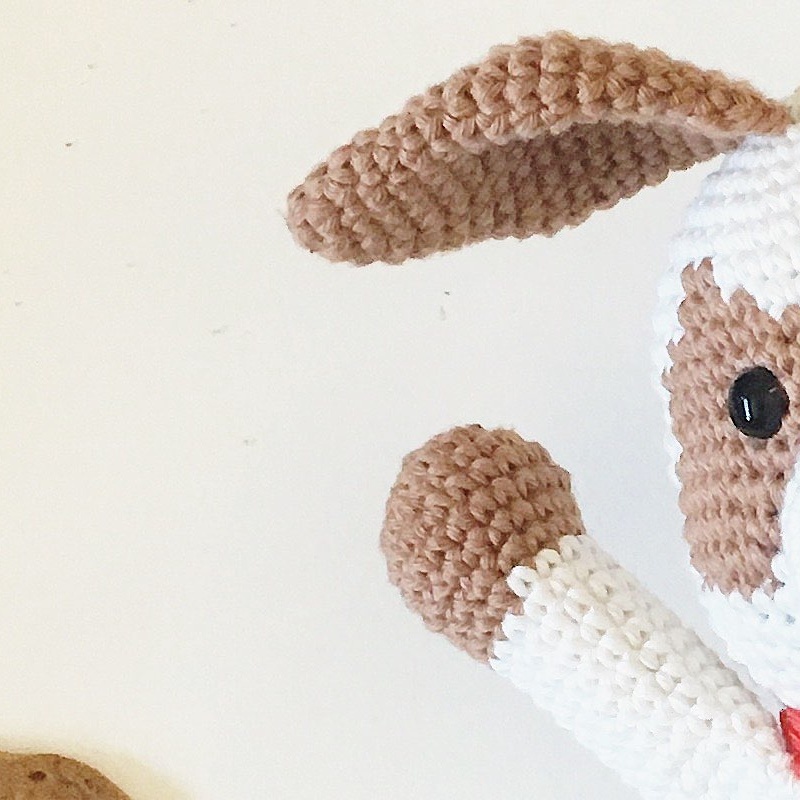
Do not stuff the ears. Flatten the top of the ear in half, and sc in the next 9 sts through both thicknesses to seam shut. Fasten off leaving a long tail for sewing.
Part 3: Hind Legs (Make 2)
Start with Color B (Soft Fudge):
- Round 1: 6 sc in MR. [6]
- Round 2: (inc in each st) around. [12]
- Round 3: (sc, inc in next st) around. [18]
- Round 4: (sc in next 2 sts, inc in next st) around. [24]
- Rounds 5 – 6 (2 rounds): (sc in each st) around. [24]
- Round 7: 6 sc; (2 sc, dec) × 3; 6 sc. [21]
- Round 8: 6 sc; (1 sc, dec) × 3; 6 sc. [18]
- Round 9: 6 sc; (dec) × 3; 6 sc. [15]
Change to Color A (Light Champagne):
- Rounds 10 – 19 (10 rounds): (sc in each st) around. [15]
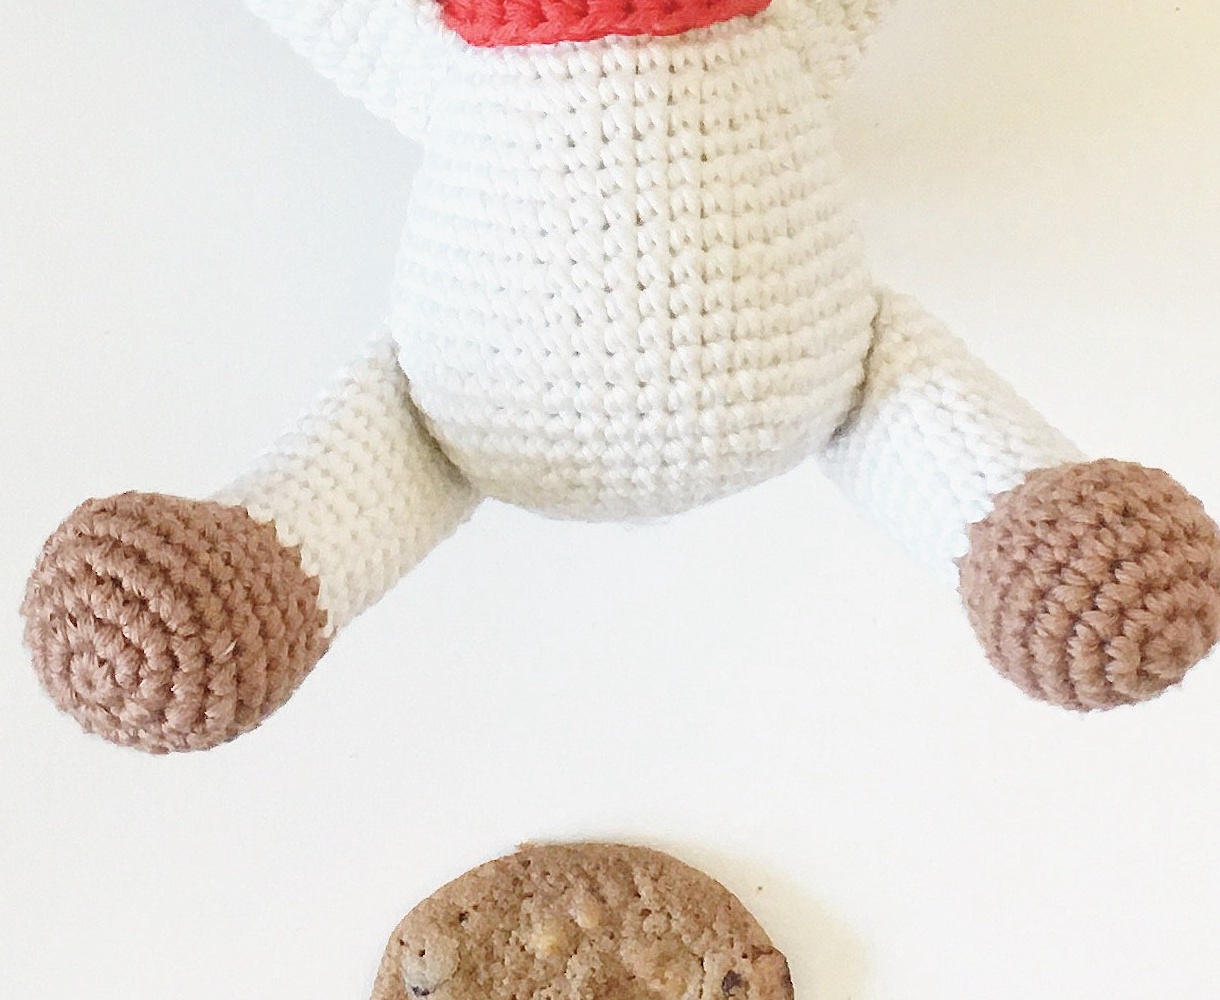
Stuff the brown paw firmly, stuffing the upper leg lightly. Fold top in half and sc across 7 sts to seam. Fasten off leaving a long tail for sewing.
Shaping: Make sure one paw points slightly left and the other slightly right when sewing to the body sides.
Part 4: Fore Legs (Make 2)
Start with Color B (Soft Fudge):
- Round 1: 6 sc in MR. [6]
- Round 2: (inc in each st) around. [12]
- Round 3: (sc, inc in next st) around. [18]
- Round 4: (5 sc, inc in next st) around. [21]
- Rounds 5 – 6 (2 rounds): (sc in each st) around. [21]
- Round 7: (5 sc, dec) around. [18]
- Round 8: 5 sc, (dec) × 4, 5 sc. [14]
Change to Color A (Light Champagne):
- Rounds 9 – 19 (11 rounds): (sc in each st) around. [14]
Stuff paw firmly and upper leg lightly. Flatten top and sc across 7 sts. Fasten off leaving a tail for sewing.
Part 5: Muzzle
Using Color A (Light Champagne):
- Round 1: 6 sc in MR. [6]
- Round 2: (inc in each st) around. [12]
- Round 3: (sc, inc in next st) around. [18]
- Round 4: (2 sc, inc in next st) around. [24]
- Round 5: (5 sc, inc in next st) around. [28]
- Round 6: (sc in each st) around. [28]
Sl st to next st and fasten off leaving a long sewing tail.
Part 6: Tail & Collar
The Tail (Color B – Soft Fudge):
- Round 1: 6 sc in MR. [6]
- Round 2: (sc, inc in next st) around. [9]
- Round 3: (2 sc, inc in next st) around. [12]
- Rounds 4 – 9 (6 rounds): (sc in each st) around. [12]
- Round 10: (4 sc, dec) around. [10]
Sl st in next st. Stuff lightly and leave a long sewing tail.
The Red Puppy Collar:
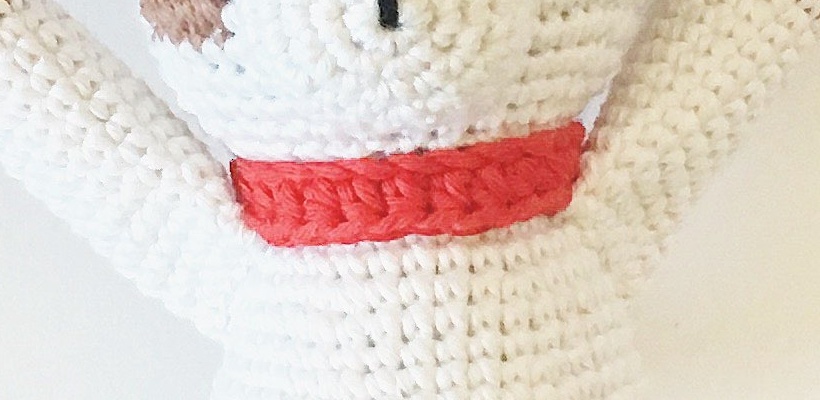
- With Festive Red yarn, ch 26.
- Row 1: Hdc into 2nd ch from hook and each ch across. [24 hdc]
- Fasten off leaving a tail to stitch around Puppy Chip’s neck. With gold yarn or embroidery floss, stitch a small square buckle on the front of the collar.
Assembly & Finishing Touches
- Muzzle & Nose: Embroider a triangular black nose and cute smiling mouth onto the muzzle. Stuff the muzzle lightly and sew it centered between the eyes.
- Floppy Ears: Pin and sew the floppy brown ears evenly between Rounds 5 and 6 on either side of the head.
- Paws & Claws: Embroider 3 little brown claws on each front paw. Sew the fore legs to the upper chest/shoulders and hind legs to the lower sides so Puppy Chip sits steadily.
- Tail & Collar: Sew the tail to the lower back. Wrap the red collar snugly around Puppy Chip’s neck and secure the ends with a yarn needle.
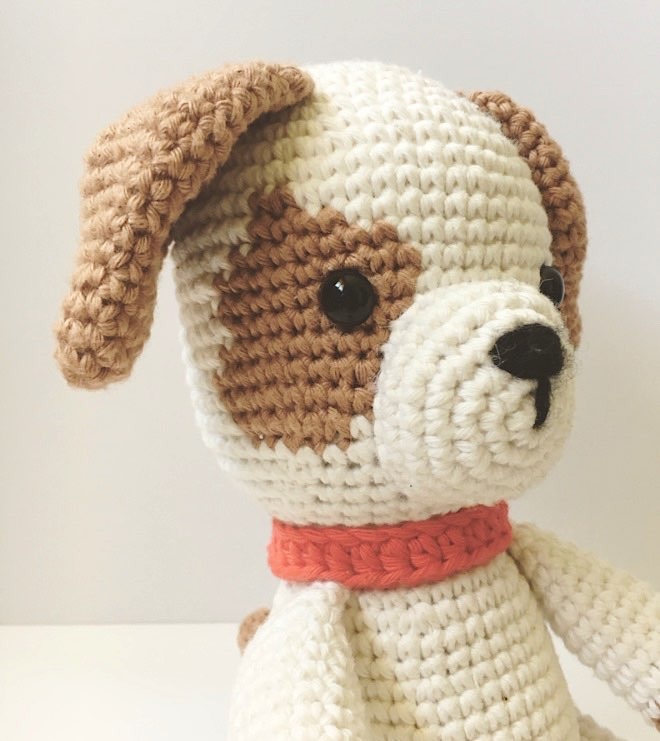
🎉 Puppy Chip is Finished!
Congratulations, your sweet Puppy Chip is ready for cuddles! Share photos of your puppy with the #PetsYarn community on Pinterest and Instagram!
We Share Free Premium PDF Patterns Every Week!
Join our weekly subscriber list to get free, ad-free printable PDF crochet patterns delivered straight to your inbox every week. Enter your email below to get this week’s pattern now!
🔒 100% free forever. No spam, ever. Unsubscribe with 1-click anytime.


