Beginners
4 Pro Tricks to Make Seated Amigurumi Toys Sit Completely Flat (Without Tipping Over)
Tired of stuffed toys rolling backward and falling off shelves? Master these 4 pro crochet tricks—from BLO turning ridges to low-density stuffing and leg counterweights—so your seated amigurumi sits flat forever.
 The PetsYarn studio
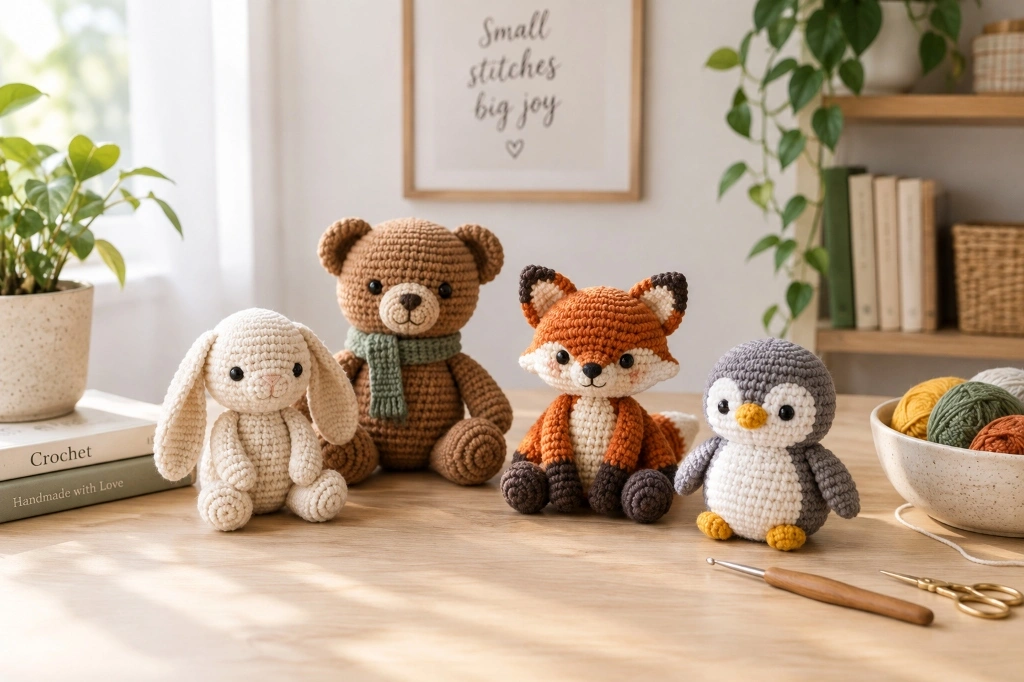
There is nothing quite as disheartening in amigurumi as pouring eight hours into crocheting a magnificent plush animal, only to set it down on your table and watch it immediately wobble, pitch backward, or roll onto its side. Getting handmade plushies to sit completely flat and upright isn’t a matter of luck—it’s a matter of center-of-gravity engineering. Whether you are crocheting a seated amigurumi pattern, building custom nursery shelf plushies, or crafting our official Sweet Unicorn, these 4 pro tricks ensure your toys sit squarely on their bottoms without toppling over.
In This Seated Amigurumi Guide:
- Trick 1: The Foundation Turning Ridge (Back Loop Only / BLO Magic)
- Trick 2: The Two-Tier Density Stuffing Method (Lowering Center of Gravity)
- Trick 3: Weighted Base Inserts (Pellets, Washers & Disc Reinforcements)
- Trick 4: The Side-by-Side Leg “Tripod” Counterweight Technique
- Case Study: How the Sweet Unicorn Stays Upright
- Frequently Asked Questions About Seated Amigurumi
Trick 1: The Foundation Turning Ridge (Back Loop Only / BLO Magic)
When you crochet a sphere in continuous spiral rounds, the transition from bottom increases to straight body rounds naturally creates a gradual, rounded dome. When stuffed, that gentle curve puffs out like a beach ball—guaranteeing that your plush will rock and roll around its lowest contact point.
To eliminate this rounding, professional toy designers introduce a Back Loop Only (BLO) transition round right at the widest point of the base disc:
- Work standard increases until your circular base reaches the required diameter (for example, expanding to 48 stitches across 8 rounds in our unicorn body).
- On the next round, crochet through the BACK LOOPS ONLY (BLO): Insert your hook exclusively under the rear loop of each stitch, leaving the front loop unworked.
- The Structural Effect: The unworked front loops form a crisp, visible horizontal seam running around the perimeter. More importantly, this forces the next round of stitches to travel perpendicular to the base at a sharp 90-degree angle, transforming a rounded bowl into a flat-bottomed cylinder!
Trick 2: The Two-Tier Density Stuffing Method (Lowering Center of Gravity)
Fiberfill stuffing is remarkably springy, but stuffing an entire amigurumi body uniformly is the fastest way to turn your flat base into a wobbly egg. To keep toys seated, use the Two-Tier Density Stuffing Method:
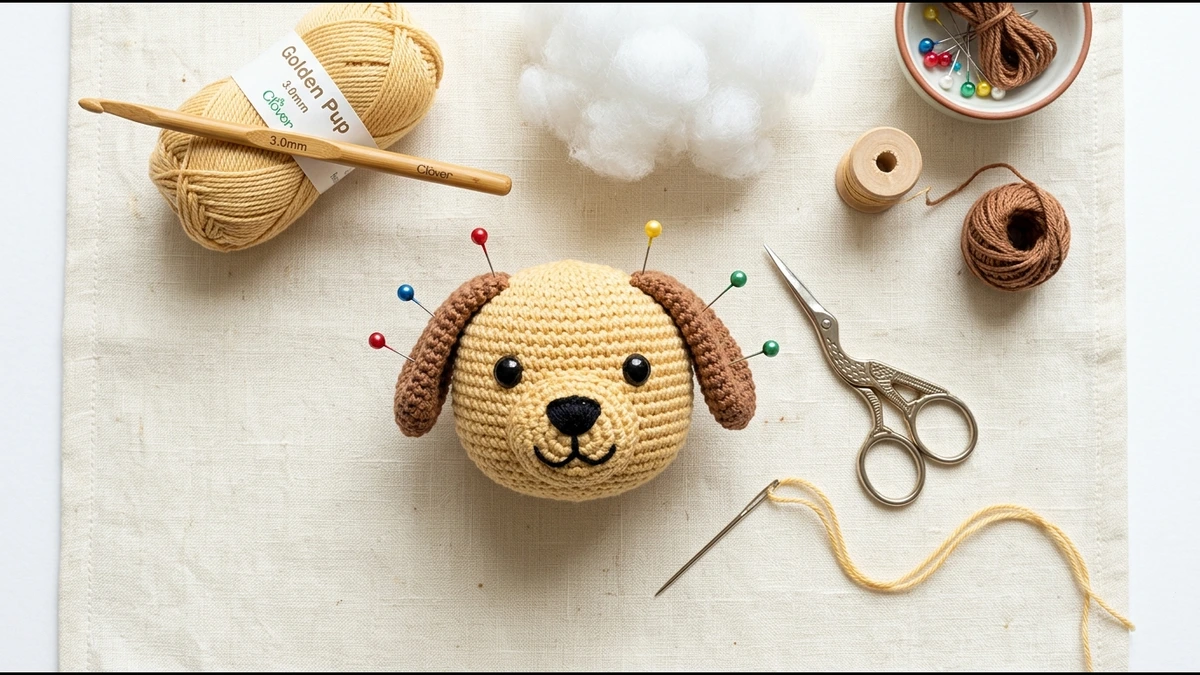
- Pack the Perimeter First: Never drop a large ball of stuffing directly into the center of the base. Instead, take small golf-ball sized wads of fiberfill and push them outward against the perimeter corners of your BLO ridge. This defines the circular “rim” of the base before the center is filled.
- Firm Lower Base (Tightly Packed): Pack the bottom 5–6 rounds very firmly. You should feel substantial resistance when pressing the bottom with your thumbs.
- Medium-Soft Upper Torso (Lightly Packed): As you move toward the neck and shoulders, decrease the stuffing density by about 30%. Keeping the upper body and head lighter shifts the entire toy’s center of mass into the lower quarter of the figure.
Trick 3: Weighted Base Inserts (Pellets, Washers & Disc Reinforcements)
If your amigurumi design features heavy appendages—such as thick spiral manes, oversized floppy ears, or protruding snouts—gravity naturally wants to lever the figure backward. Adding physical ballast to the lower base completely solves this problem:
Trick 4: The Side-by-Side Leg “Tripod” Counterweight Technique
Limb placement makes or breaks a seated plush. Many crocheters make the mistake of sewing amigurumi legs directly underneath the body cylinder. This turns the legs into rounded stilts, reducing stability and making the toy wobble from side to side.

Instead, follow the Forward Footplate Method:
- Flatten the Top Rim of Each Leg: Crochet through both layers across the top of the limb with single crochets (as specified in our pattern) rather than leaving an open round hole.
- Pin to the Lower Front Perimeter: Pin the two flattened leg tops side-by-side across Rounds 1 through 5 on the lower front wall of the body.
- The Tripod Effect: The flat bottom of the body serves as the rear anchor, while the forward-extended legs and hooves form two wide front contact points. Together, they create an unbreakable 3-point tripod base that prevents the plush from toppling backward under the weight of its head and mane!
Case Study: How the Sweet Unicorn Stays Upright
Our official Sweet Unicorn pattern is designed specifically around these four balance engineering principles to stay seated proudly without requiring wooden armatures or metal wires:
🦄 The Sweet Unicorn Balance Blueprint:
- Base Construction: 48 sc circular disc (Rnds 1–8) followed by Rnd 9 in BLO to establish the crisp flat bottom.
- Counterweight Paws: 9-sc flattened hoof attachments sewn across Rounds 1–5 to form a forward stabilizing platform.
- Tapered Mane Design: 12 long curls that transition from 3 sc to 2 sc at the tips, allowing the hair to drape around the shoulders rather than pooling backward like a heavy anchor.

Crochet the Flat-Sitting Sweet Unicorn!
Put these seated balance tricks to the test with our complete Sweet Unicorn crochet pattern! Features full row-by-row instructions for the flat-base body, sleeping embroidered eyes, golden horn, and bouncy corkscrew mane.
Frequently Asked Questions About Seated Amigurumi
Can I fix an amigurumi that is already stuffed and tips over backward?
Yes! If your toy is already finished, you can use “surface needle anchoring.” Take a long length of matching body yarn, insert your needle through the back base, catch 2–3 stitches through the underside of the front legs, and pull slightly taut before knotting. This pulls the bottom flat and tilts the leg footplates downward to create an instant stable tripod.
Are plastic craft canvas discs machine washable?
Yes, standard flexible polyethylene plastic canvas (7-count or 10-count) is 100% waterproof, rust-proof, and machine washable on gentle cycle. Just remember to trim the circular disc smoothly without sharp corners that could snag inside the yarn stitches.
Why does my BLO turning ridge look wavy instead of flat?
A wavy base usually indicates uneven tension or an incorrect stitch count in the final increase round. Ensure that your base circle lies completely flat before beginning the BLO round. If your circle ruffled or cupped before Round 9, your tension was either too loose (ruffling) or too tight (cupping).
We write tested crochet patterns for cats and dogs, and share everything we learn along the way. About us