Dogs · amigurumi dog
4 Clever No-Sew Tricks for Seamless Amigurumi Dogs (No Needles Required)
Hate sewing amigurumi parts together? Learn how to crochet seamless amigurumi dogs using 4 clever no-sew techniques: in-round bobble paws, continuous neck transitions, surface-joined ears, and back-loop tails.
 The PetsYarn studio
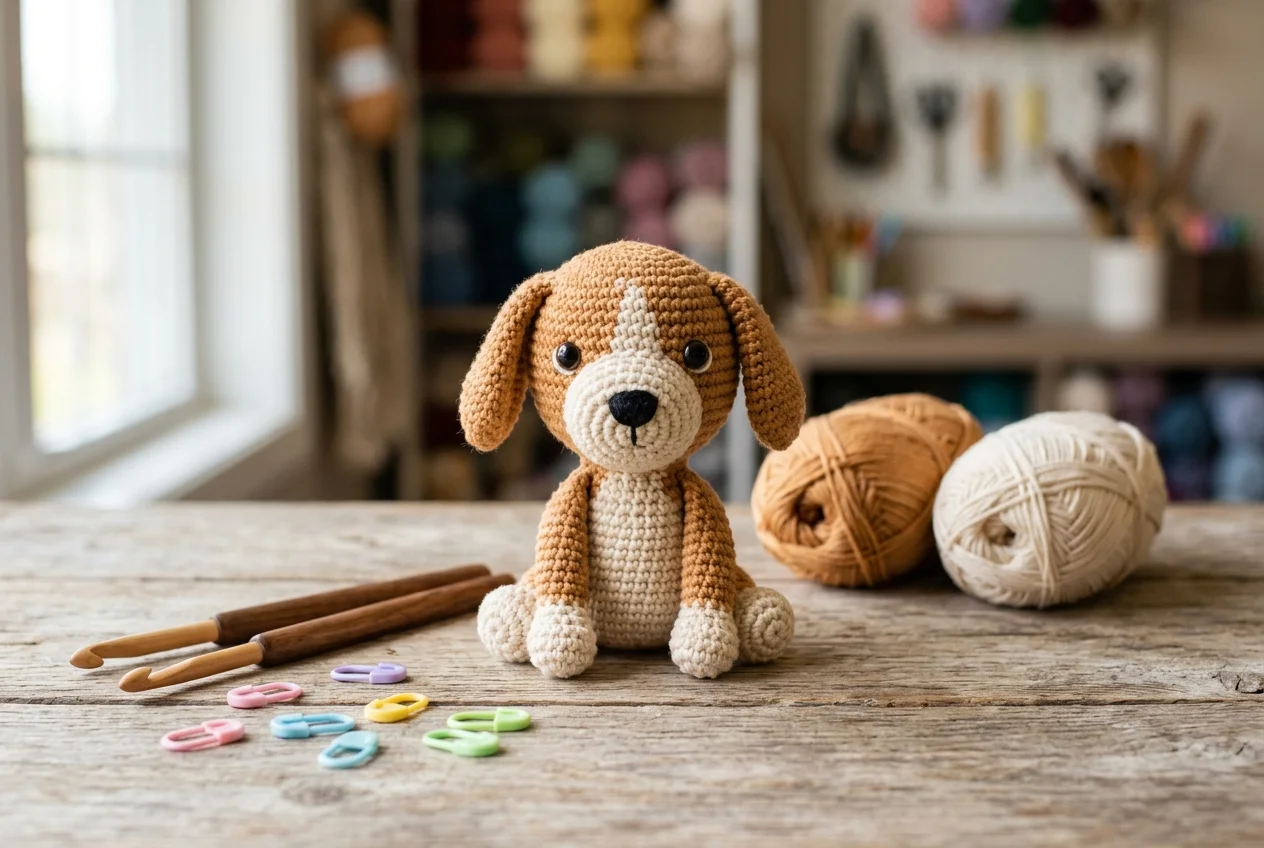
Ask ten crocheters what their least favorite part of making amigurumi is, and at least nine will tell you the same thing: whipstitching tiny limbs and ears with a tapestry needle. Uneven pin placement can turn a perky puppy into an asymmetrical plush, and loose assembly threads risk coming undone over time. Fortunately, modern design techniques allow you to create a complete no sew dog crochet pattern free of needle assembly. By integrating limbs, ears, and tails directly into your active spiral rounds, you can craft a durable, perfectly balanced amigurumi puppy from snout to paws in one fluid piece.
In This No-Sew Dog Amigurumi Guide:
- Trick 1: The 5-dc Bobble Stitch for Seamless Sitting Paws
- Trick 2: In-Round Floppy & Pointed Ear Joins (Flattened Stitch Interlocking)
- Trick 3: The Seamless Chin-to-Chest Transition (One-Piece Body Architecture)
- Trick 4: The 6-Chain Foundation Wagging Tail (Direct Base Loops)
- No-Sew Canine Stitch Key & Tension Control
- Frequently asked questions
Trick 1: The 5-dc Bobble Stitch for Seamless Sitting Paws
Traditional dog amigurumi requires crocheting four separate miniature cylindrical legs, stuffing them with tiny wads of batting, and painstakingly pinning each paw to the underbelly. For compact or sitting dogs (such as a sitting dog crochet pattern free project), the 5-double-crochet bobble stitch (5-dc Bo) creates rounded, puffy puppy paws right in the active body round.
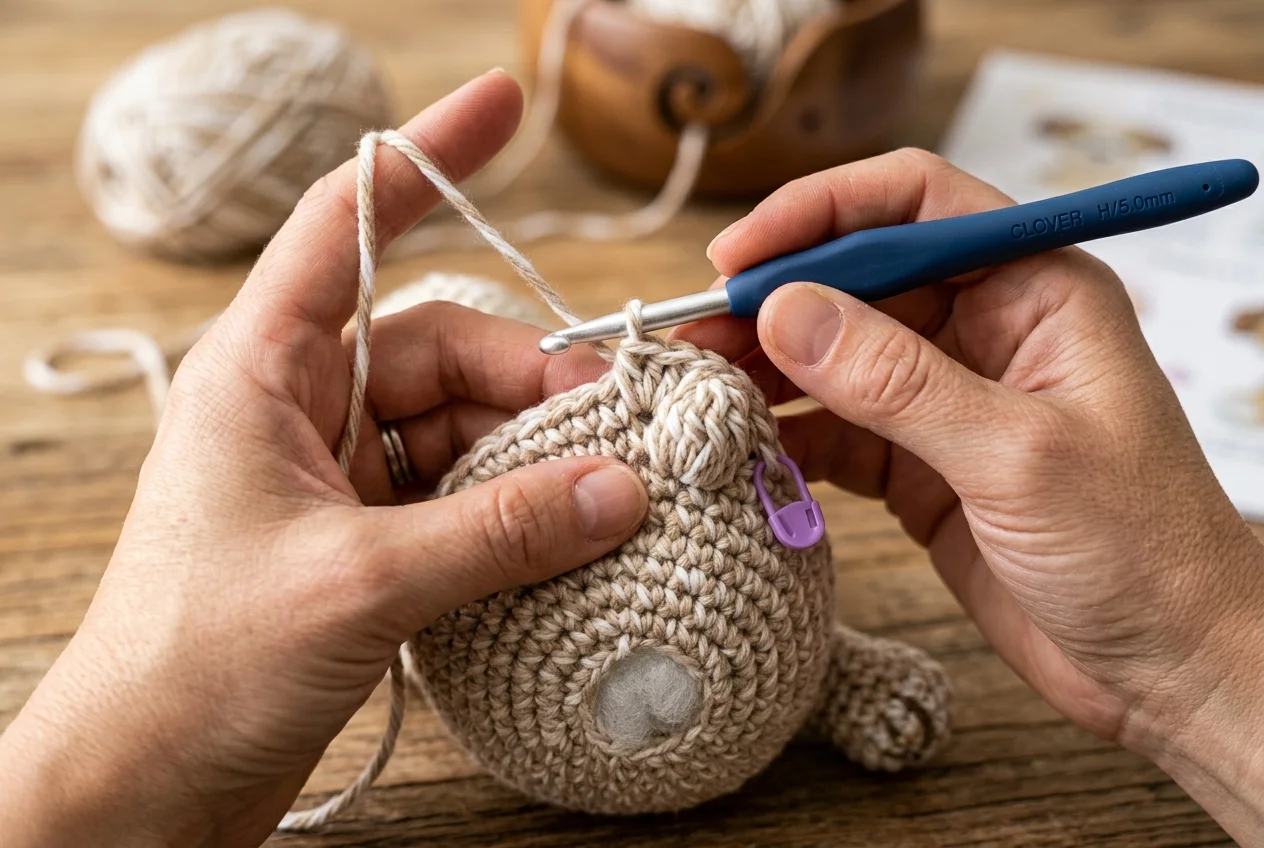
To execute a seamless canine bobble paw:
- Yarn over, insert hook into the indicated body stitch, yarn over, and pull up a loop. Yarn over and pull through 2 loops (2 loops remain on hook).
- Repeat this step 4 more times into the exact same stitch until you have 6 active loops on your hook.
- Yarn over and draw through all 6 loops in one decisive pull.
- Work 1 standard single crochet (sc) into the next stitch, pulling your working yarn snugly. This locks the cluster and forces the 3D bobble bulb outward onto the right side of the fabric.
Spacing Formula for Front Paws: On Round 12 of a 30-stitch torso, work: 8 sc, 1 Bo (Right Paw), 4 sc, 1 Bo (Left Paw), 16 sc. This creates a centered 4-stitch chest gap that naturally mirrors puppy anatomy.
Trick 2: In-Round Floppy & Pointed Ear Joins (Flattened Stitch Interlocking)
Crocheting ears as separate pieces is fine, but sewing them onto curved head rounds often results in crooked angles. With the in-round join technique, you crochet the ears first, flatten their opening without stuffing, and crochet straight through both layers while working the head crown rounds.
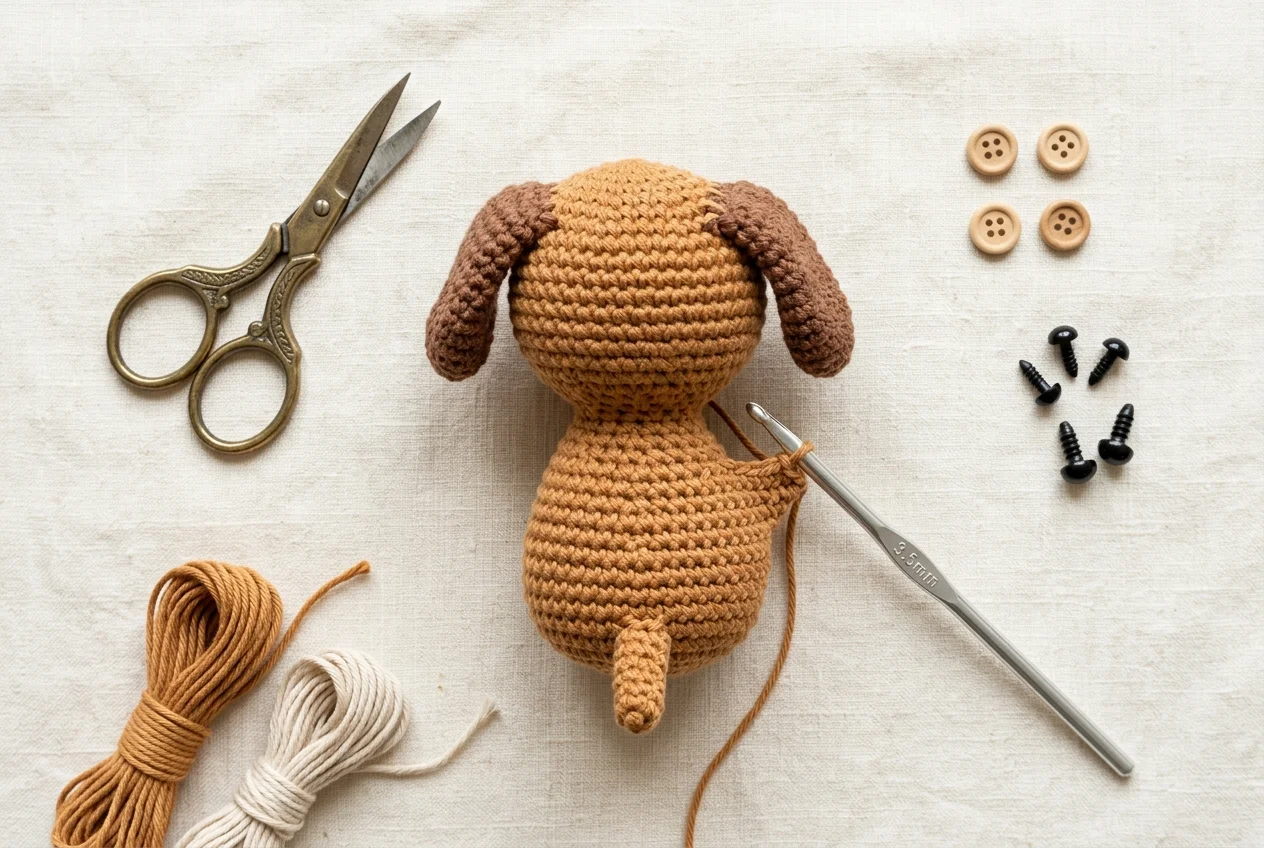
- Floppy Beagle/Hound Ears: Crochet a 4-round tapered oval. Pinch the opening flat (3 stitches wide). When your head reaches Round 6, hold the flattened ear against the exterior surface, insert your hook through both layers of the ear AND the next head stitch, and complete a regular single crochet. Repeat across all 3 stitches. The ear is now permanently anchored with structural yarn integrity.
- Standing Terrier/Husky Ears: Work through the front loop of the head stitch only. This leaves the back loop intact underneath to maintain cranial tension and keep triangular ears standing perky.
Trick 3: The Continuous Chin-to-Chest Transition (One-Piece Body Architecture)
In standard two-piece amigurumi, you close the head completely, crochet a separate body, and whipstitch the neck circumference. This almost always leads to a “wobbly head” as the plush ages. A true no sew dog amigurumi works the head and body as one continuous hourglass column.
- Crochet the head from crown to chin, working calculated decreases down to 12 stitches at the neck.
- Pause and firmly stuff the cranial globe. Snap the safety eyes in place.
- Do not fasten off or cut the yarn! Work 1 round of even single crochets (12 sc) to establish the neck collar.
- Begin outward body increases:
*1 sc, 1 inc* repeat 6 times (18 sc), followed by*2 sc, 1 inc* (24 sc)on the subsequent round.
This unbroken vertical column eliminates floppy head syndrome forever because the structural yarn fibers run continuously from the crown to the base.
Trick 4: The 6-Chain Foundation Wagging Tail (Direct Base Loops)
Sewing a 1 cm puppy tail onto a stuffed spherical bottom is notoriously tricky. With the foundation chain trick, the tail emerges directly from the posterior spine:
- When your body reaches Round 16 (the lower rump), stop at the exact center-back stitch.
- Chain 6 (or chain 8 for longer hound tails).
- Starting in the second chain from the hook, work slip stitches (sl st) or single crochets back down the chain.
- Slip stitch into the foundation body stitch to anchor the tail base, then immediately continue your single crochet body round as normal.
No-Sew Canine Stitch Key & Tension Control
Keep your hook 1.0 mm smaller than the yarn band specifies (a 3.5 mm hook for worsted weight acrylic) to keep stitches dense:
- MR: Magic Ring (adjustable starter loop)
- sc: Single crochet
- inc: Single crochet increase (2 sc in one stitch)
- invdec: Invisible decrease (front loops only)
- 5-dc Bo: 5-double-crochet bobble stitch (seamless paw)
- ch: Chain stitch
- sl st: Slip stitch
For more foundation tips, explore our roadmap on How to Crochet a Dog for Beginners, or try our feline edition on No-Sew Cat Amigurumi Techniques. You can also view our full-size Husky Dog Crochet Pillow Pattern and French Bulldog Pillow Guide!
Frequently asked questions
Can I make a no-sew dog with bulky chenille velvet yarn?
Yes! In fact, no-sew techniques work even better with chenille plush yarn (Category #5 or #6) because chenille yarn tends to snap or shed fluff when pulled through tight seams with a tapestry needle. Crocheting bobble paws and in-round ears directly preserves the plush velvet texture completely.
How do I stop my seamless bobble paws from turning inward?
Bobble stitches naturally push toward the side facing away from your hook. After completing the locking single crochet right after the bobble, use your thumb to pop the rounded dome outward toward the front of the body before continuing the round.
Is a no-sew amigurumi dog more durable than a sewn one?
Significantly more durable. Conventional amigurumi fails when whipstitched join threads wear out under handling. In a no-sew design, the paws, head, and tail are part of the continuous woven yarn strand, making limb detachment virtually impossible.
We write tested crochet patterns for cats and dogs, and share everything we learn along the way. About us