
- Home
- Patterns
- Home & Decor
- Free Crochet Bat Pattern: Cute Baby Bat Amigurumi & Pet Toy
Crochet Pattern & Guide · For home & decor
Free Crochet Bat Pattern: Cute Baby Bat Amigurumi & Pet Toy
Complete step-by-step written pattern guide with row-by-row instructions, stitch keys, and sizing notes.
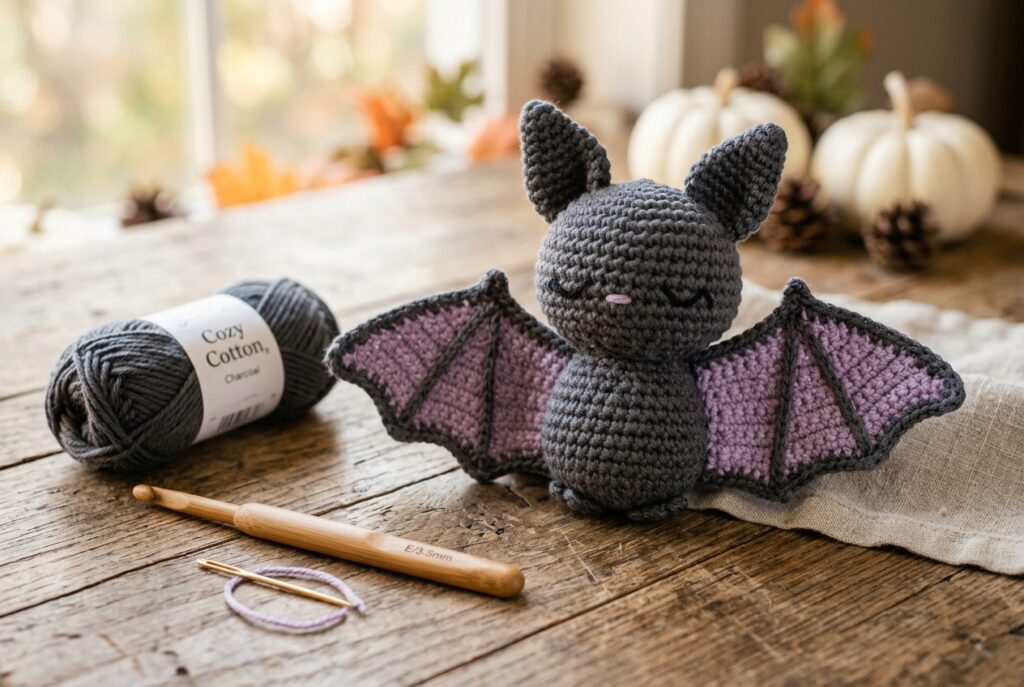
Looking for quick, irresistible halloween crochet ideas that double as a beloved toy for your furry friend? This free crochet bat pattern creates a darling, pocket-sized baby bat amigurumi in under an hour. With scalloped wings, perky little ears, and a soft teardrop body, it serves as whimsical autumn home decor, an eye-catching Halloween garland accent, or a completely pet-safe catnip kicker toy. Whether you have 30 minutes to make a festive scrap-yarn project or want to surprise your cat or puppy with a handmade spooktacular gift, this beginner-friendly guide walks you through every single round.
Why You Will Love This Baby Bat Pattern
Unlike ordinary seasonal decorations that sit on a shelf, this crochet bat amigurumi pattern was specifically designed with pet households in mind:
- 100% Pet-Safe Design: Avoids dangerous hard plastic safety eyes. Features gentle, hand-embroidered sleepy eyes using 100% cotton floss so curious pets cannot choke or swallow loose parts.
- Dual-Purpose Decor & Play: Hang it from a door knob, mantle garland, or curtain tie-back as charming Halloween home decor, or pop an organic catnip pouch or crinkle sheet inside for an interactive pet toy.
- Beginner-Friendly & Fast: Uses basic single crochet stitches worked in continuous spirals. Perfect for beginner crocheters seeking easy halloween crochet patterns that work up in a single evening.
- Scrap Yarn Friendly: Requires less than 30 grams of yarn, making it ideal for utilizing leftover cotton skeins from previous projects.
Materials, Yarn & Hook Recommendations
When crafting toys for pets or handling seasonal decor that needs to maintain its shape, yarn choice makes all the difference:
- Yarn: 100% Cotton or Cotton-Acrylic blend in DK / Light Worsted weight (e.g., Paintbox Yarns Cotton DK, Rico Creative Ricorumi, or Schachenmayr Catania). Cotton provides crisp stitch definition, zero lint fuzz, and claw-resistant durability.
- Main Color (Charcoal Grey, Slate Black, or Midnight Purple): Approx. 22–25 g
- Accent Color (Dusty Lavender, Pastel Pink, or Pumpkin Orange for inner wings): Approx. 10 g
- Crochet Hook: 2.75 mm – 3.25 mm (US C/2 to D/3). Choose a hook slightly smaller than the yarn band recommends to guarantee tight, dense stitches that keep stuffing completely enclosed.
- Stuffing: Hypoallergenic polyester fiberfill. (If making a cat toy, add 1 tablespoon of organic dried catnip wrapped inside a light layer of polyfill, or food-grade crinkle plastic film).
- Facial Embroidery: Stranded cotton embroidery floss in black and light blush pink.
- Notions: Yarn needle (blunt tapestry needle), stitch marker, and sharp embroidery scissors.
Pattern Details & Stitch Abbreviations (US Terms)
This pattern is written in standard US crochet terminology:
- MR: Magic Ring (Adjustable loop)
- ch: Chain stitch
- sc: Single crochet
- inc: Single crochet increase (2 sc in the same stitch)
- dec: Invisible single crochet decrease (sc2tog through front loops only)
- dc: Double crochet
- sl st: Slip stitch
- st / sts: Stitch / stitches
- [ … ]: Repeat sequence inside brackets the indicated number of times
- ( … ): Total stitch count at the end of the round
Step-by-Step Crochet Bat Pattern Instructions
Part 1: The Seamless Baby Bat Body (Head to Base)
The head and body are worked as one seamless piece from top to bottom in continuous spiral rounds without joining.
- Round 1: Using Main Color (Charcoal Grey), work 6 sc into a Magic Ring. (6 sts)
- Round 2: [inc in next st] 6 times. (12 sts)
- Round 3: [sc in next st, inc in next st] 6 times. (18 sts)
- Round 4: [sc in next 2 sts, inc in next st] 6 times. (24 sts)
- Rounds 5–9 (5 rounds): sc in each st around. (24 sts)
- Round 10: [sc in next 2 sts, dec] 6 times. (18 sts) — This tapers into the neck line.
- Round 11: [sc in next 2 sts, inc in next st] 6 times. (24 sts) — This begins the chubby lower tummy.
- Round 12: [sc in next 3 sts, inc in next st] 6 times. (30 sts)
- Rounds 13–15 (3 rounds): sc in each st around. (30 sts)
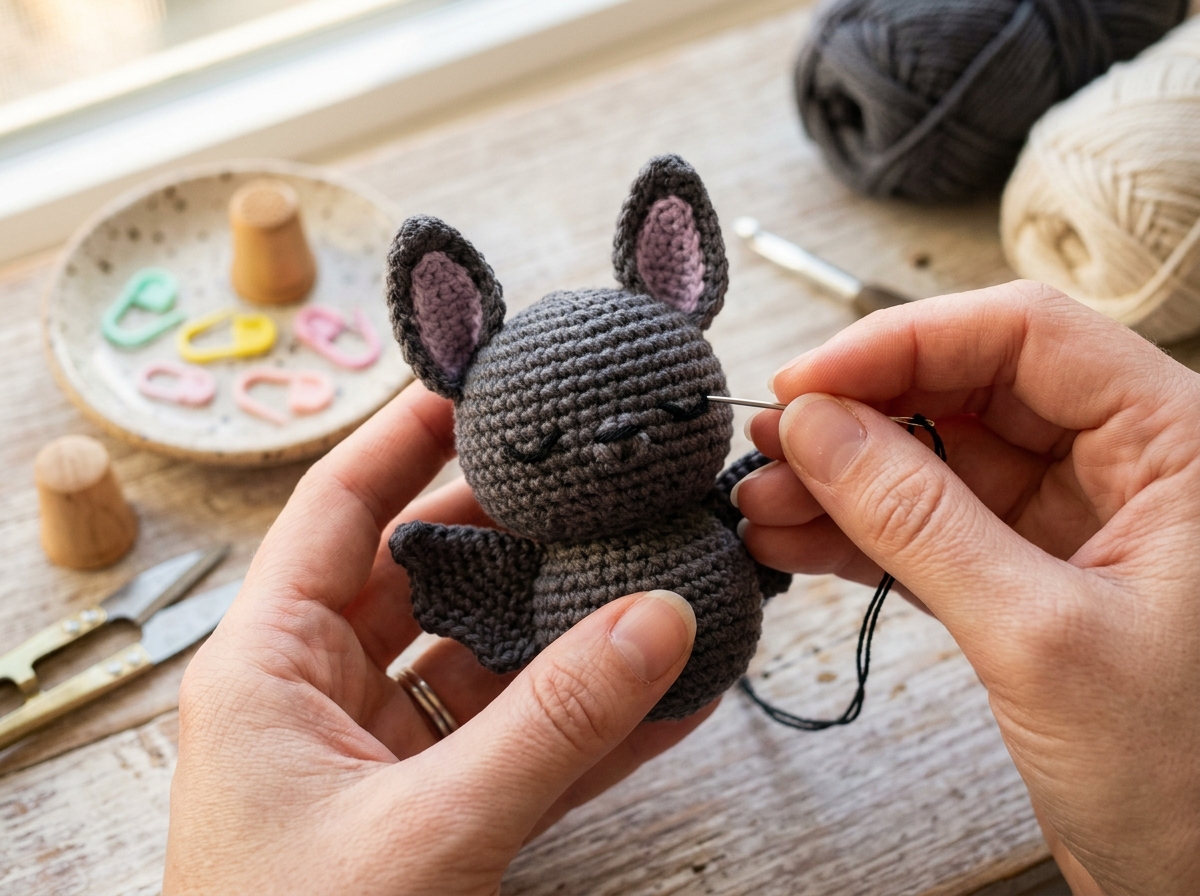
Pet Safety & Facial Embroidery Checkpoint:
Before stuffing the body, embroider the facial features between Rounds 6 and 7, about 4 stitches apart. Use black embroidery floss to make delicate curved sleepy eyes (or simple “V” smiling eyes). Secure thread ends firmly with multiple double knots on the inside of the head. If making this as a cat play toy, insert your catnip packet or crinkle film surrounded by a nest of polyfill right now!
- Round 16: [sc in next 3 sts, dec] 6 times. (24 sts)
- Round 17: [sc in next 2 sts, dec] 6 times. Stuff the body firmly with fiberfill. (18 sts)
- Round 18: [sc in next st, dec] 6 times. (12 sts)
- Round 19: [dec] 6 times. (6 sts)
Fasten off, leaving a 15 cm tail. Weave the tail through the front loops of the remaining 6 stitches, pull tight to close the opening, and weave the yarn end inside the body.
Part 2: Pointed Baby Bat Ears (Make 2)
Worked in spiral rounds without stuffing. They maintain a firm, upright triangular shape naturally.
- Round 1: Using Main Color, work 4 sc in a Magic Ring. (4 sts)
- Round 2: [sc in next st, inc in next st] 2 times. (6 sts)
- Round 3: [sc in next st, inc in next st] 3 times. (9 sts)
- Round 4: [sc in next 2 sts, inc in next st] 3 times. (12 sts)
- Round 5: sc in each st around. (12 sts)
Sl st to next st and fasten off, leaving a 20 cm tail for sewing. Flatten the ears flat without stuffing. Pinch the base slightly and stitch securely to the top-sides of the head across Rounds 3–5.
Part 3: Scalloped Bat Wings (Make 2)
The wings feature charming scalloped curves that look adorable whether displayed on a shelf or swatted across the floor by playful paws.
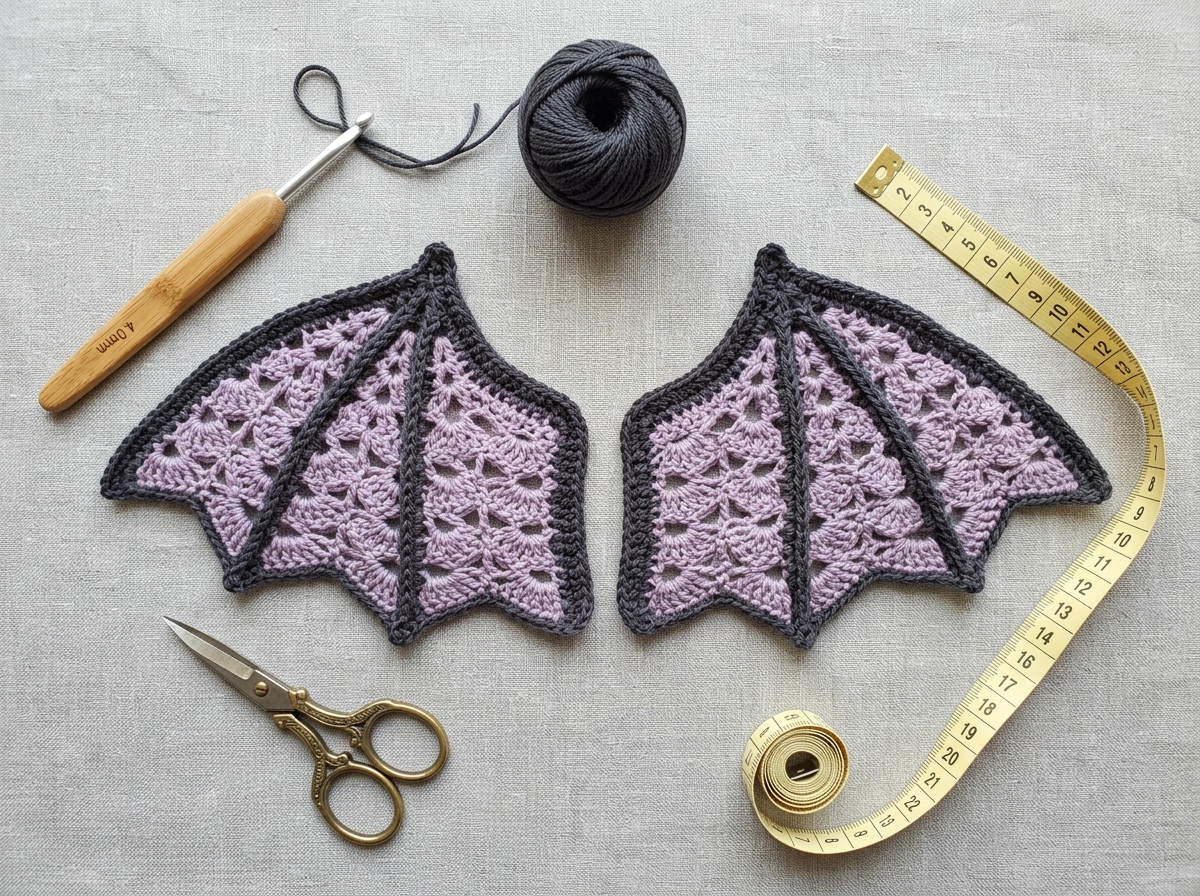
- Row 1: Using Main Color, ch 13. Turn.
- Row 2: Starting in 2nd ch from hook, sc in each of the 12 chs across. ch 1, turn. (12 sts)
- Row 3: sc in next 10 sts, leave remaining 2 sts unworked (this forms the wing angle). ch 1, turn. (10 sts)
- Row 4: sc in next 8 sts, leave remaining 2 sts unworked. ch 1, turn. (8 sts)
- Row 5 (Scalloped Edging): To create the classic scalloped bat wing points: [skip 1 st, 4 dc in next st, sl st in next st] repeat along the bottom edge to form 3 sweet wing arches.
Fasten off leaving a long tail. Position the wings on the back of the body, angled slightly outward. Whip stitch securely along the straight top spine of each wing to ensure maximum durability during pet playtime.
Assembly, Pet Toy Customizations & Home Styling
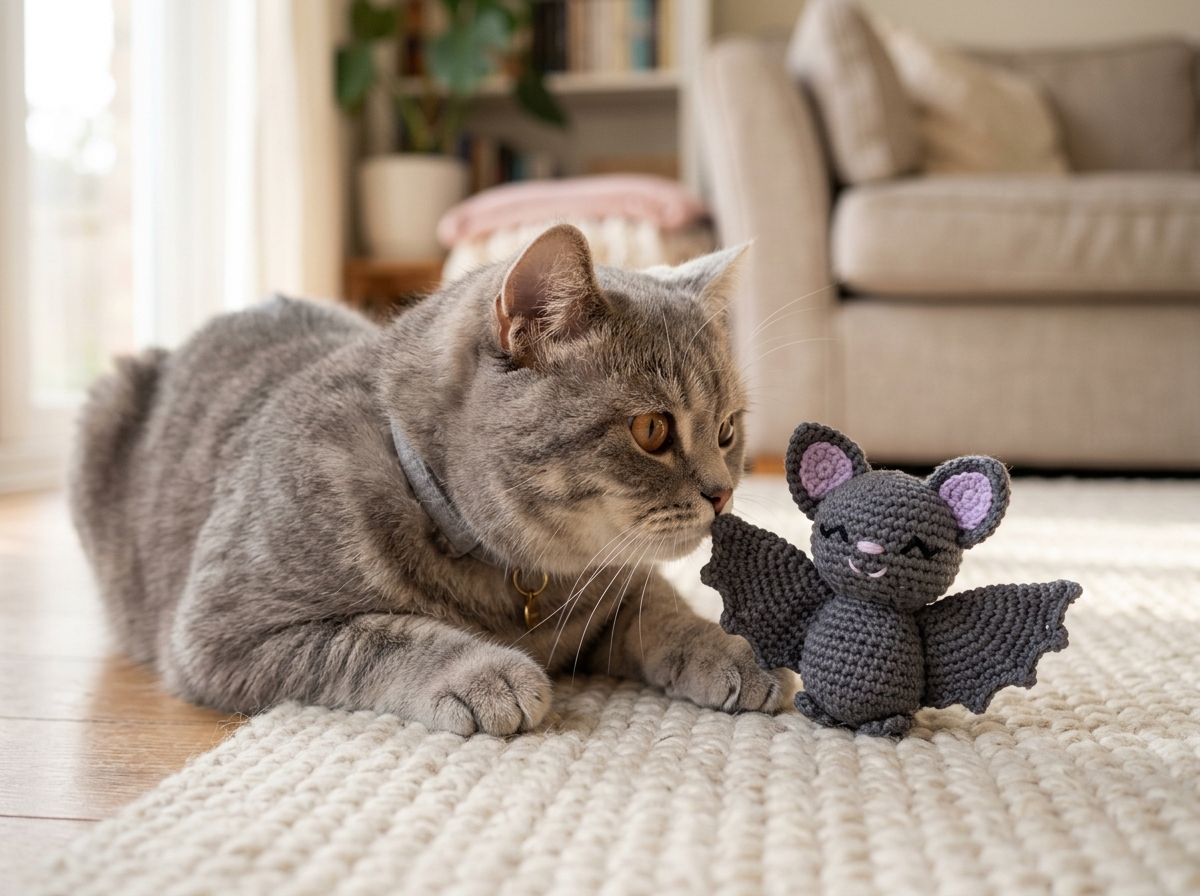
- For a Pet Toy (Catnip Bat / Toss Toy): Ensure all sewing stitches are double-knotted and woven into the center core of the toy. Never attach plastic safety eyes, ribbons, or loose bells that can be chewed off. Refer to our Safe DIY Crochet Pet Toys & Best Yarns Guide for full safety advice.
- For Halloween Home Decor: Attach a simple 25-chain crochet loop to the crown of the head between the ears. Hang your bats from twigs in a rustic vase, drape them along a mantle garland, or hang them in the window. Check out our styling ideas in 5 Inspiring Ways to Style Crochet Plushies in Home Decor.
- For a Quick Keychain / Bag Charm: Attach a small metal split ring to the head loop. You can find full hardware assembly tips in our guide on How to Turn Small Amigurumi into Sturdy Keychains.
Download the Free Printable PDF Pattern
Want a clean, ad-free printable checklist with step-by-step progress tracking? Grab our downloadable PDF guide or subscribe to the PetsYarn VIP Maker newsletter for instant access to our complete pattern library!
We Share Free Premium PDF Patterns Every Week!
Join our weekly subscriber list to get free, ad-free printable PDF crochet patterns delivered straight to your inbox every week. Enter your email below to get this week’s pattern now!
🔒 100% free forever. No spam, ever. Unsubscribe with 1-click anytime.


