Dogs · amigurumi dog
5 Tricks to Crochet Realistic Dogs: Fluffy Yarns & Muzzle Sculpting Guide
Turn plain round amigurumi into lifelike canine plushies! Learn 5 pro maker tricks for realistic crochet dogs: needle-sculpting eye sockets, wire brushing for fluffy fur, seamless muzzle transitions, and breed ear shaping.
 The PetsYarn studio
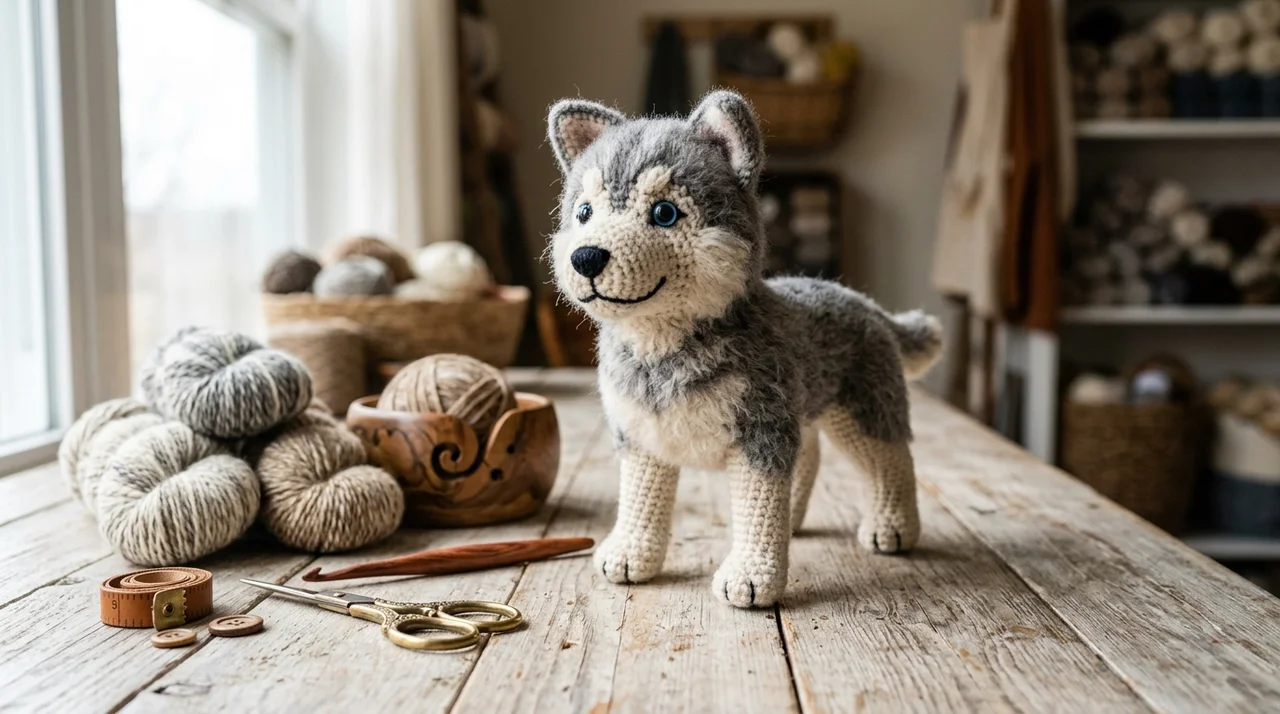
Standard amigurumi is famous for its charming cartoon spheres, but crocheting an authentic pet portrait requires a completely different set of sculpting techniques. When searching for realistic dog crochet patterns free of cartoonish distortion, the secret lies not in complex stitches, but in structural tension, anatomical yarn pulling, and surface texturing. Whether you want to recreate a soulful-eyed Husky, a flat-faced French Bulldog, or a fluffy terrier, these five pro sculpting tricks will elevate your canine projects from simple crochet toys into lifelike fiber art.
In This Realistic Dog Sculpting Guide:
- Trick 1: Needle-Sculpting Eye Sockets & Muzzle Stop (The 3D Indentation Method)
- Trick 2: The Wire Slicker Brushing Technique (Transforming Acrylic into Fluffy Fur)
- Trick 3: Selecting Specialty Fluffy Yarns (Bouclé, Chenille & Faux Fur)
- Trick 4: Two-Tone Muzzle Shaping Without Stepped Seam Lines
- Trick 5: Breed-Specific Ear Angling & Cranial Proportions
- Frequently asked questions
Trick 1: Needle-Sculpting Eye Sockets & Muzzle Stop (The 3D Indentation Method)
In real dogs, eyes do not sit flush on a flat spherical surface—they sit nested inside orbital bone hollows behind a defined brow line. Needle sculpting is the technique of using a long tapestry needle and strong upholstery thread to pull interior stitches together, creating permanent anatomical contours.
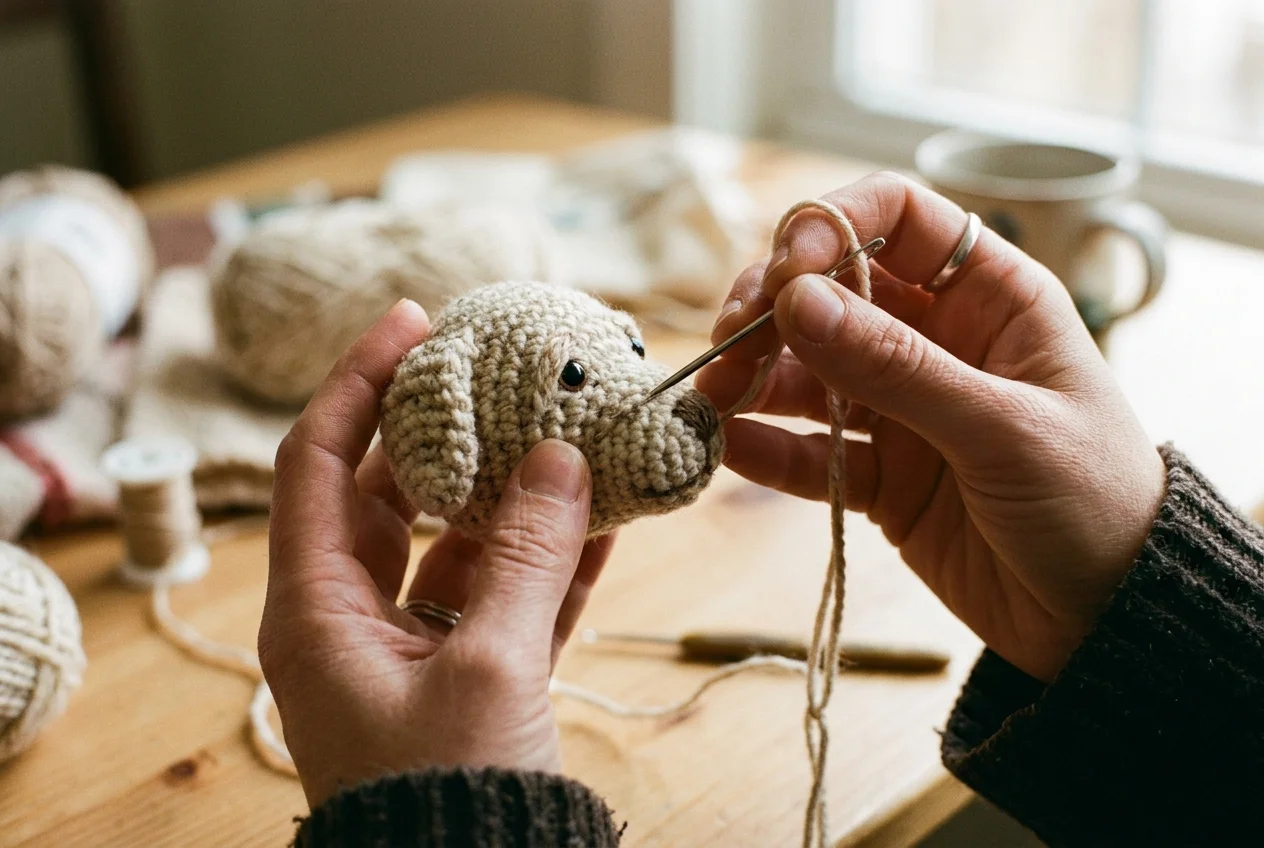
Step-by-Step Eye Sinking Technique:
- Thread a 10 cm (4-inch) blunt metal tapestry needle with a matching strand of sturdy plied yarn or bonded nylon thread.
- Insert the needle at the base of the neck (the open foundation hole before final closure) and exit at the inner corner of the right eye.
- Pass the needle across the front of one stitch bar and re-insert into the head, passing straight through the cranial stuffing to exit back at the base of the neck, one stitch away from your entry point.
- Pull both tail ends firmly. You will immediately watch the eye sink into a natural socket, causing the forehead brow to rise slightly.
- Repeat for the left eye, tie a secure surgeon’s knot at the neck base, and tuck the knot tails deeply inside the polyfill core.
Trick 2: The Wire Slicker Brushing Technique (Transforming Acrylic into Fluffy Fur)
If you are looking for a fluffy dog crochet pattern free tutorial, you don’t necessarily have to buy expensive specialty yarn. You can turn ordinary 100% acrylic worsted yarn into luxurious faux-fur using a common pet wire slicker brush.
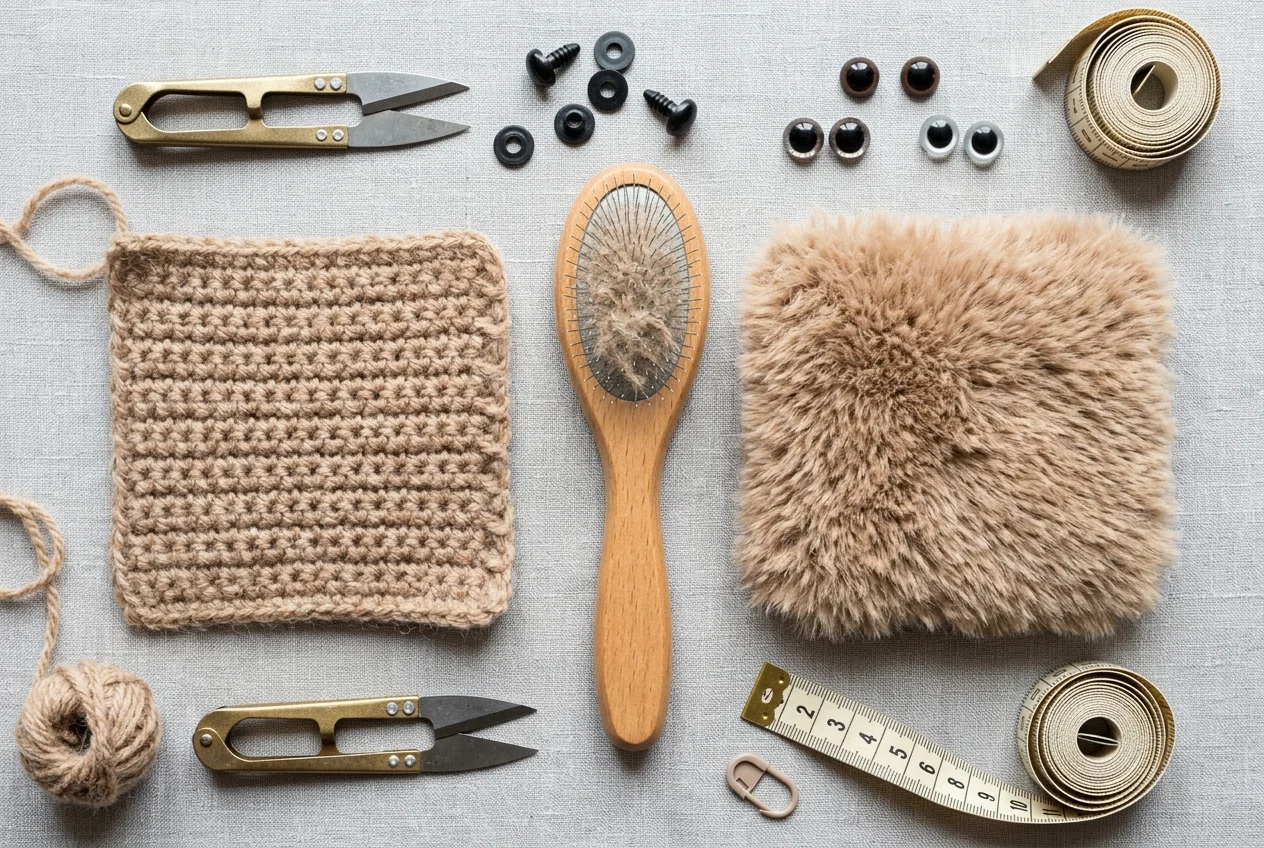
The Golden Rules of Yarn Brushing:
- Acrylic Only: This technique requires 100% acrylic or acrylic-wool blends. Pure plant fibers (like 100% cotton) will snap or fray rather than bloom into soft fur.
- Light, Flicking Strokes: Never drag the wire bristles deeply into the fabric; you only want to lift the microscopic surface halos. Use short, upward flicking motions across ears, ruff collars, and tails.
- Grooming Trim: After brushing, use curved embroidery scissors to trim straggly outer fibers, sculpting smooth puppy cheeks and clean paw contours.
Trick 3: Selecting Specialty Fluffy Yarns (Bouclé, Chenille & Faux Fur)
For large accent pieces like our Husky Dog Crochet Pillow Pattern, working directly with textured novelty yarns yields instant cuddly warmth:
- Bulky Chenille / Velvet (Category #5 or #6): Yarns like Himalaya Dolphin Baby or Bernat Blanket produce a dense, cloud-soft finish with no visible gaps. Tip: Always use plastic locking stitch markers on every single round, as velvety fuzz makes counting V-loops tricky by eye.
- Bouclé Loop Yarns: Irregular looped fibers perfectly mimic curly-coated breeds like Poodles, Doodles, and Bichon Frises without any secondary brushing required.
- Faux Fur Eyelash Yarn: Excellent for ear fringes, chest ruffs, and tail tips. Hold one strand of faux fur together with one strand of smooth worsted acrylic to give the fabric structural gauge and stability.
Trick 4: Two-Tone Muzzle Shaping Without Stepped Seam Lines
Many canines (including Beagles, German Shepherds, and Frenchies) feature a distinct white or black muzzle set against a darker cranial coat. Standard mid-round color changes leave jagged “step” ridges.
To produce clean, realistic color transitions:
- Complete the final yarn-over of the preceding stitch using the new color.
- Work the first stitch of the new color as a slip stitch (sl st) into the back loop only, pulling tension firmly.
- Work all subsequent stitches in normal single crochet. On the following round, crochet directly into the loops as normal. The slip stitch eliminates the stepped color bump, providing a razor-sharp demarcation line.
Trick 5: Breed-Specific Ear Angling & Cranial Proportions
The difference between a terrier and a hound comes down to ear posture. Pinning ears straight on top makes any dog look generic:
- Hound / Retriever (Floppy): Align ear bases horizontally across Round 5, tilted 15 degrees backward toward the neck. The ear fold should drape flush against the cheekbone.
- Spitz / Husky (Prick Ears): Set ears high on the crown, spaced 4 to 5 stitches apart. Work internal single crochets tight to make the triangular cups stand rigid without internal wire.
- French Bulldog (Bat Ears): Cup the base by folding the outer third inward before stitching, creating broad, forward-facing listening ears like in our French Bulldog Pillow Pattern.
To practice these techniques from scratch, check our beginner roadmap on How to Crochet a Dog for Beginners and our guide to No-Sew Dog Amigurumi Techniques. For sizing wearable apparel, visit our Dog Sizing Measurement Guide!
Frequently asked questions
Can I wash a crochet dog after wire slicker brushing?
Yes, but always hand-wash in cool water with mild liquid soap and let air dry flat. Machine washing or warm dryer agitation will cause brushed acrylic fibers to felt and lose their fluffy, separated texture.
What thread should I use for needle sculpting?
Use strong bonded nylon thread, dental floss, or matching 100% mercerized cotton yarn. Standard single-ply acrylic yarn often snaps under the firm pulling tension required to indent eye sockets and muzzle bridges.
How do I keep safety eyes from popping out when needle sculpting?
Always pass your sculpting needle behind the plastic post of the safety eye, never directly under the outer edge of the eye itself. This pulls the surrounding crochet fabric inward, cupping the eye naturally without levering the washer off the post.
We write tested crochet patterns for cats and dogs, and share everything we learn along the way. About us